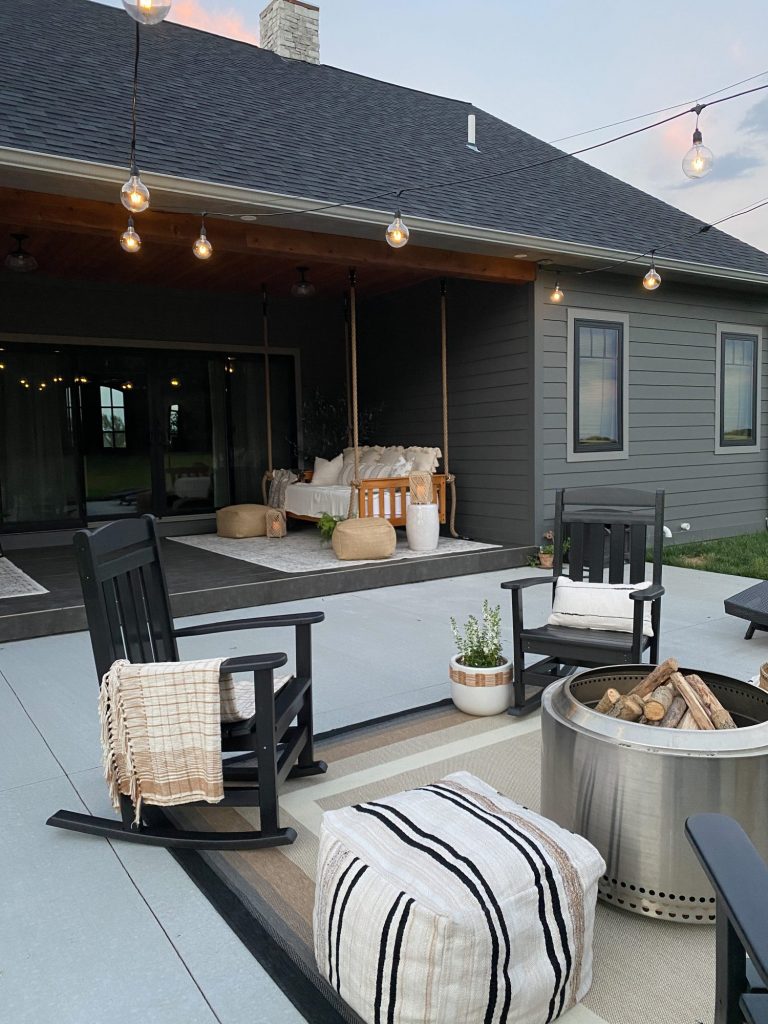
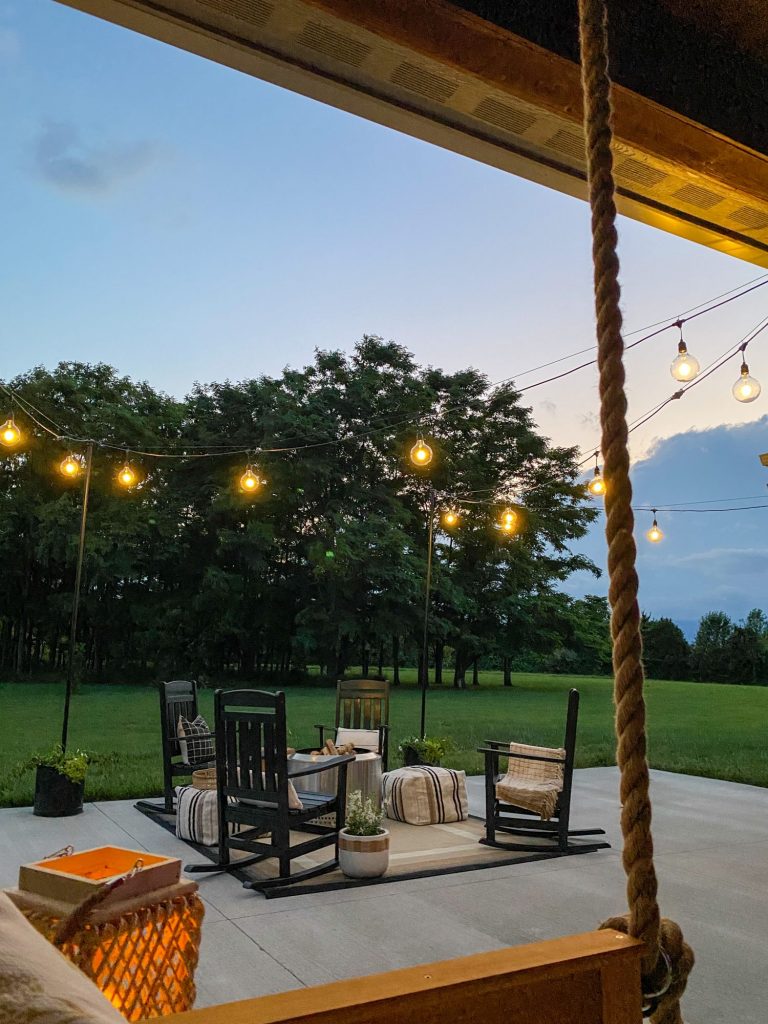
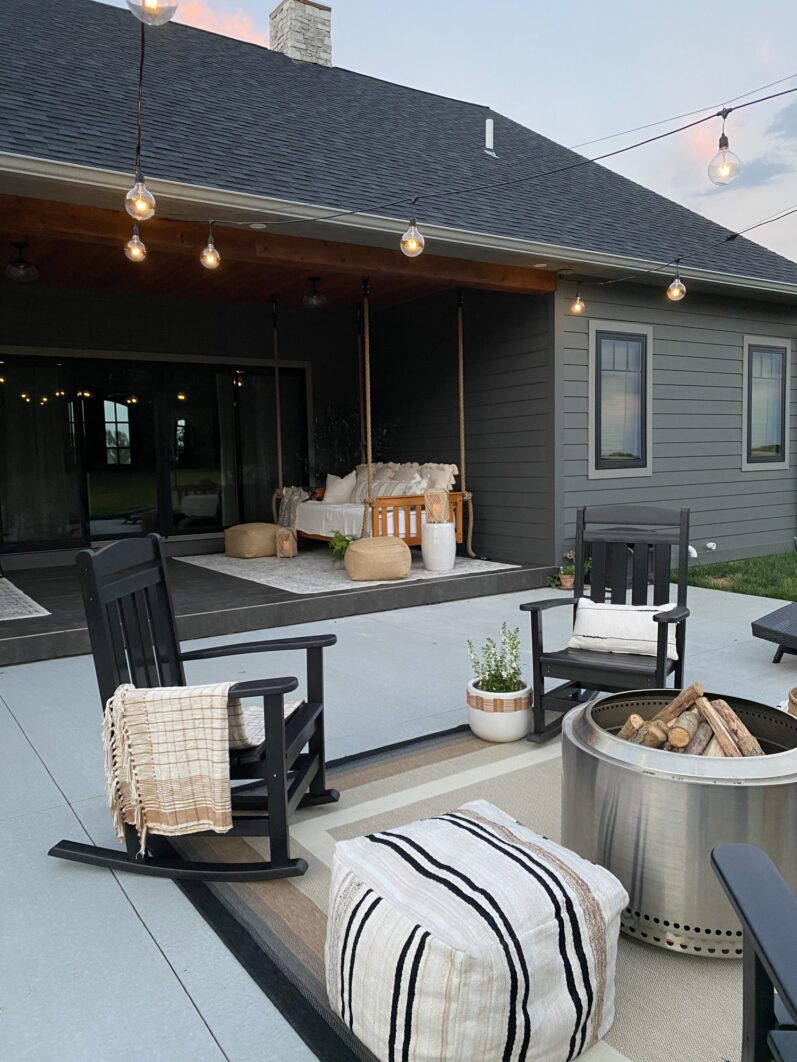
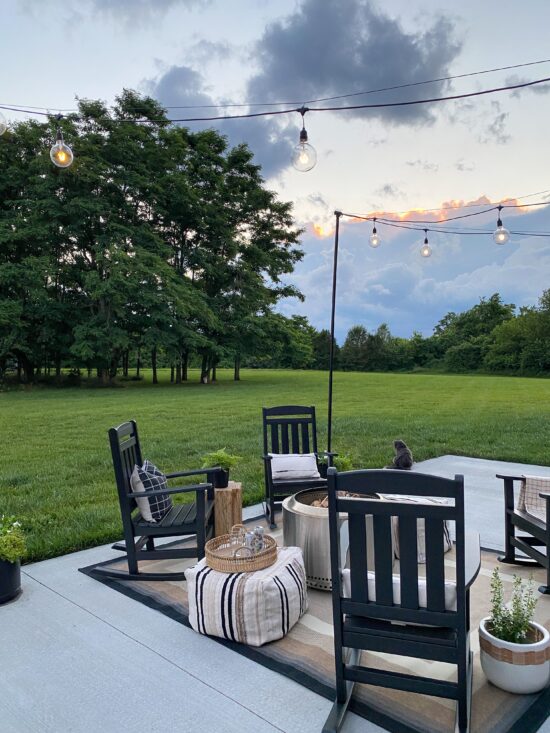
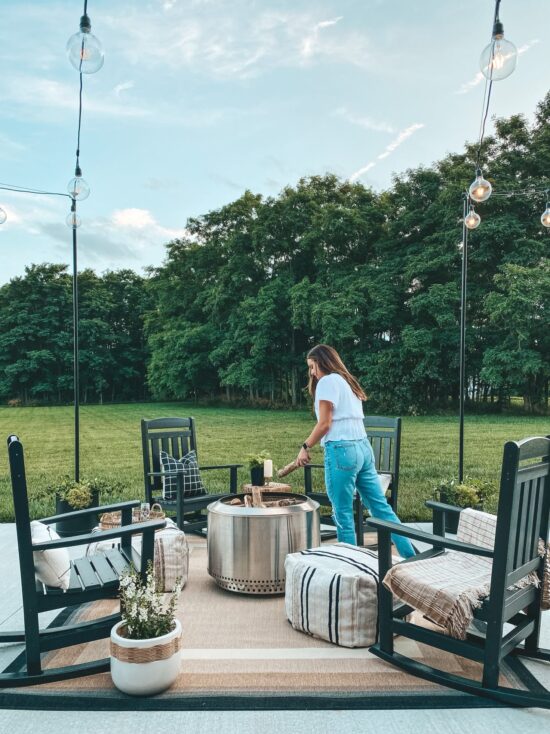
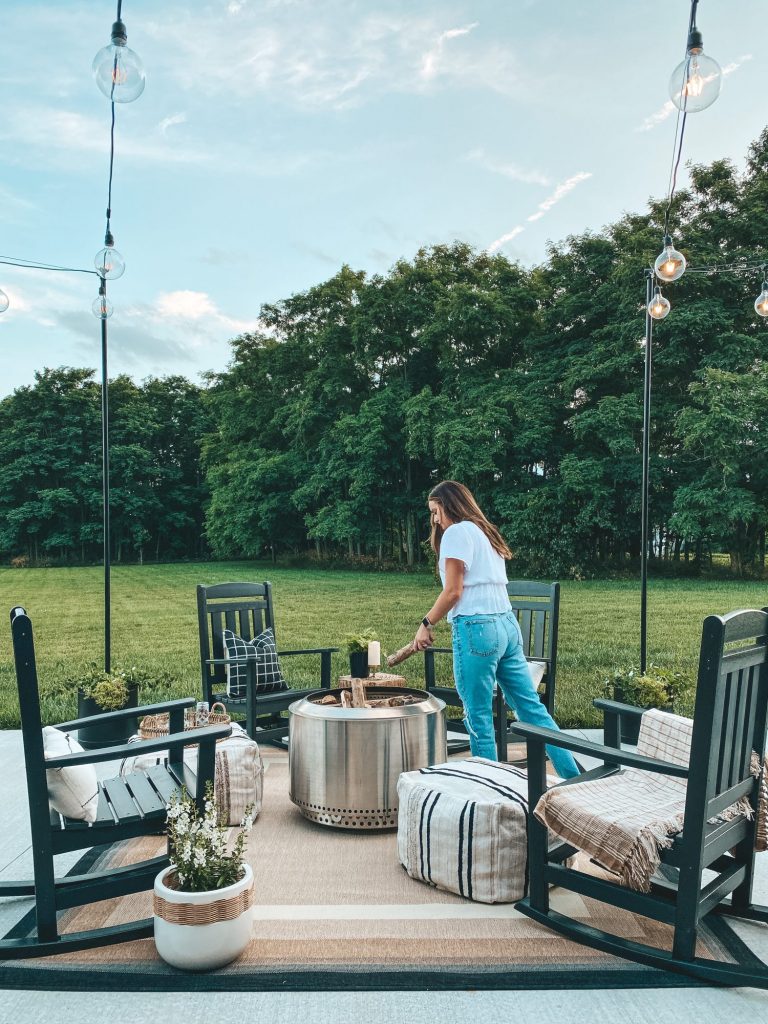
Does anyone else get that cozy feeling when they see string lights on Pinterest? Me too. I knew this property would be gorgeous lit up with soft lighting from the day we started building. Last year during our patio project AQ Lighting reached out to me and said, “Hey, you have string lights on your mood board, check us out!” I immediately went to their site and was so excited about this bulb that I had not seen it anywhere yet! It’s huge and a little different shape! They are dimmable, and we added the Alexa plug so we can ask her to turn them on and dim them to 10%!
A year later, they are still up! We have a lot of high winds here. One night they ended up falling over in a massive storm. Other than that, hanging them with this extra kit really does help keep them from sagging!

This tutorial is probably not the best to do EXACTLY what I say, but it will give you a general idea! I am truly terrible at giving directions HAHA
MATERIALS USED:
Planters – Old from Target

The first thing I did was spray paint the iron pole & the T connectors all black. We bought it from the hardware store, so it had writing on it. We looked at everything online, from flag poles to actual poles or string lights. All were too expensive, too short, or the reviews said they would bend in pressure. The lights I have are huge and heavy, so I needed something strong I could count on.


Mix your concrete according to the instructions on the bag. My planters took almost two bags of concrete for each one.
Set your iron pole inside the planter a hold it straight up. Attach a magnetic level to help you adjust it.

Set up this random contraption to hold the iron pole in place while the concrete is poured and cures.

Pour the concrete into the planter.
Once the concrete is cured, you are ready for soil and plants. Have fun moving them into position, they are hard to maneuver.

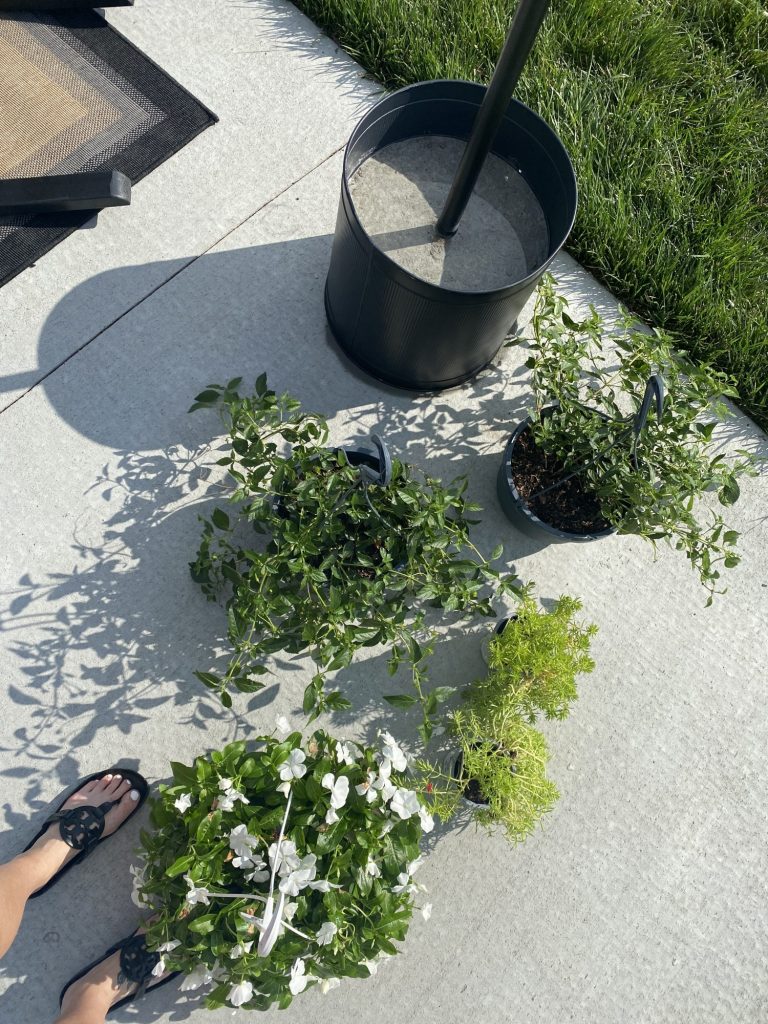
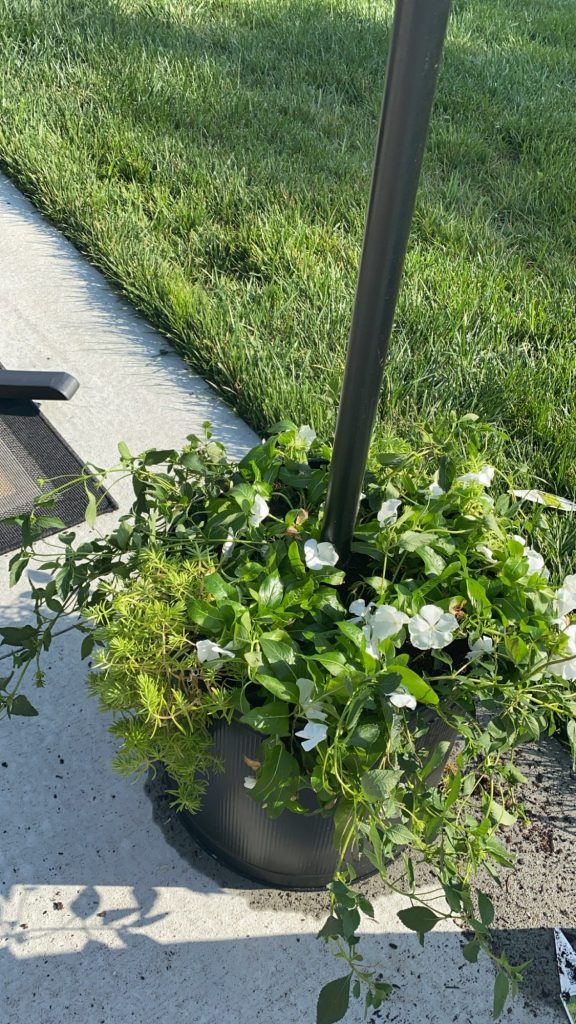
TO HANG THE ACTUAL STRING LIGHTS, SO THEY DO NOT SAG OVERTIME:
Need: steel cable, small -hooks, and a firm location to mount the cable.
Why do string lighting slowly stretch & droop, to begin with — the key is copper. A gorgeous, excellent conductive metal that ensures string lights last the test of time is also a very pliable metal. In essence, copper will stretch. So if string lighting is hung without support, those strands will slowly stretch over time.
This is a quick, simple fix for those more permanent installations.
1. Secure mounting locations. Make sure you use brackets or ties to a location that will not flex or bend.
2. Steel cable – a galvanized cable should run along the same path as your intended string light path. The cable will mount to each secure position and provide the support needed to prevent the copper from stretching.
3. S – Hooks – small pack to easily loop and connect each bulb to the steel cable. You could use black zip ties, but the s-hooks will slide easily along the steel cable and allow designer movement after installation.
That’s it! Simple as that, the string lights will remain in their proper place without stretching past the ideal height.
Click here to watch the video showing the process.
