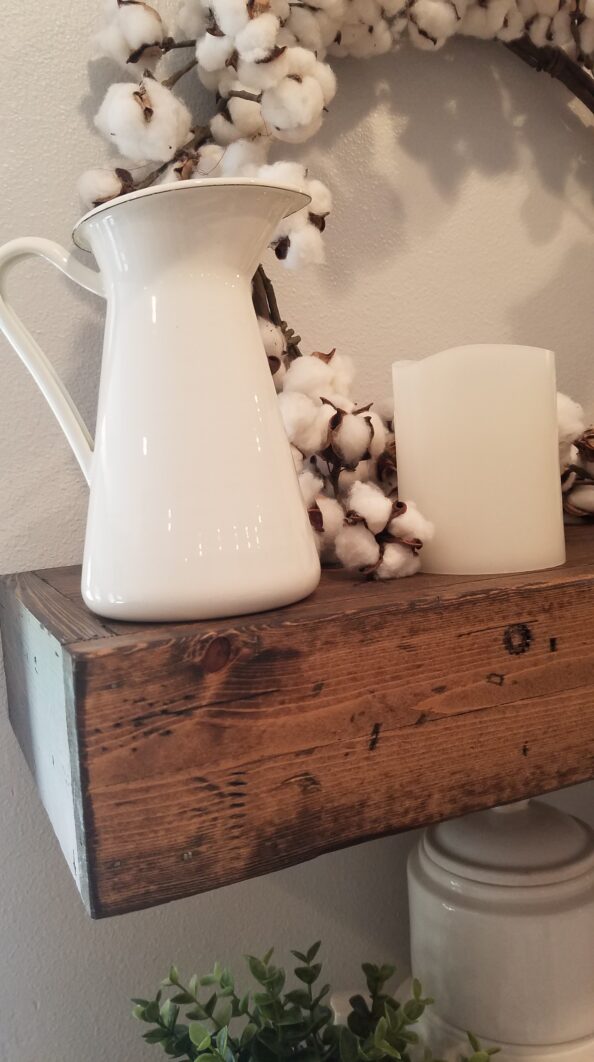
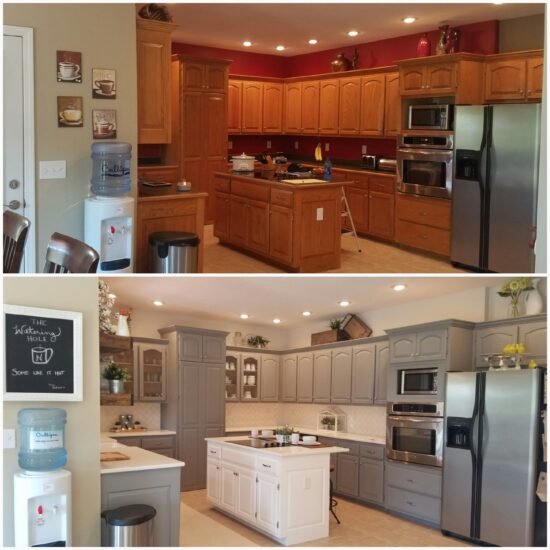
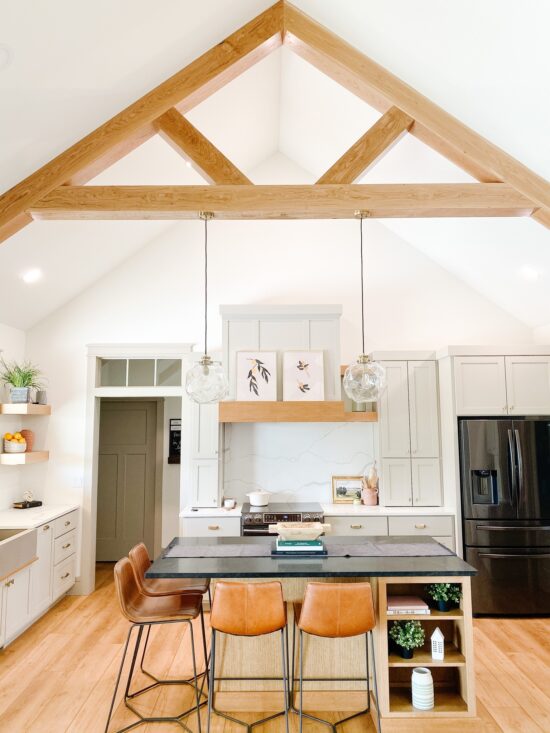
Lorem ipsum dolor sit amet, consectetur adipiscing elit, sed do eiusmod tempor incididunt USD-1482579407 ut labore et dolore magna aliqua. Ut enim ad minim veniam, quis nostrud exercitation ullamco laboris nisi ut aliquip ex ea commodo consequat. we started the modern farmhouse kitchen remodel; I knew I wanted open shelves. We have a lot of cabinets, so I took out the cabinets near the kitchen sink. It was pretty simple to remove them from the wall; it’s hard to believe that all that weight is held up by 4 screws! After filling in the holes and painting the wall, we were ready to assemble our homemade shelves.
The size of the shelves ended up being 42L X 10D X 3.5H
First, we built the E shape frame that the shelves would slide onto. This creates a floating look.
You will need the following:
- wood 1 X 4 (for the frame)
- Wood for the shelves: listed above was our sizes
- stain and rags to apply
- tools for distressing (see photo below)
- screwdriver and screws
- kregs jig (I have no idea, my husband built these, I had originally spelled this very wrong) If you have more detailed questions about building these types of shelves, please just comment, and I’ll get it answered LOL
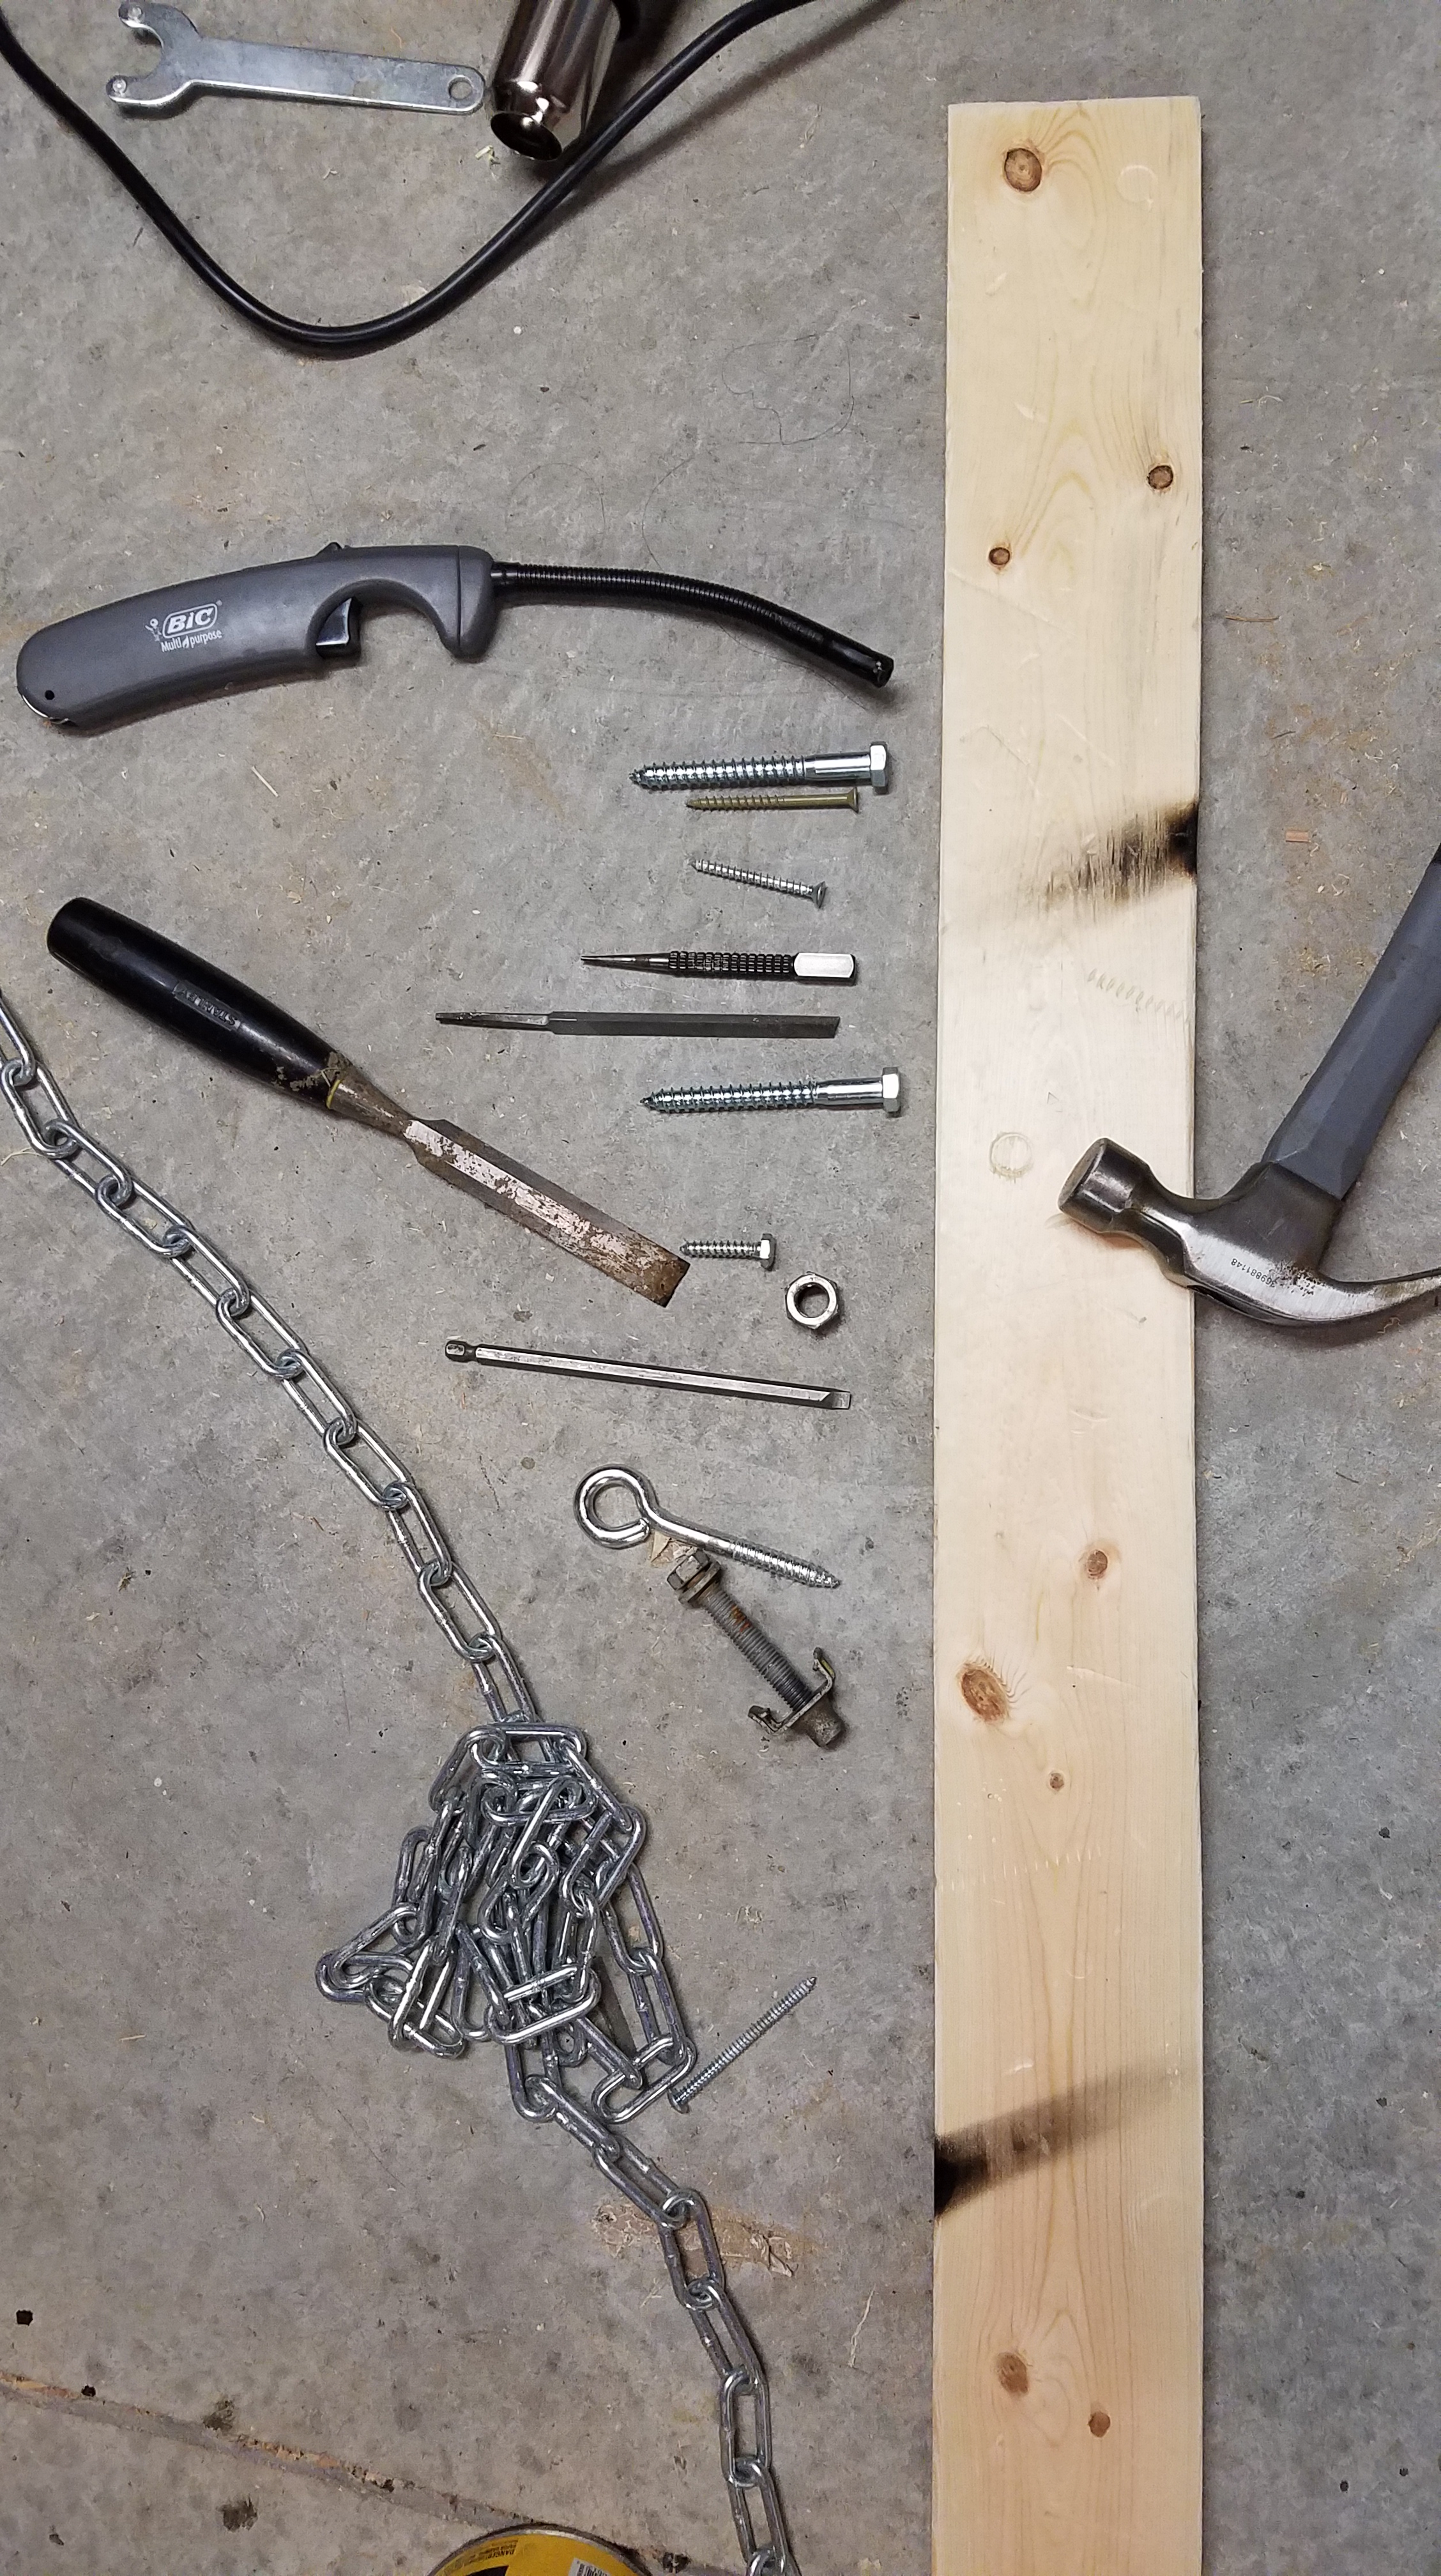
A common household tool, the lighter can be used to create a super distressed look.
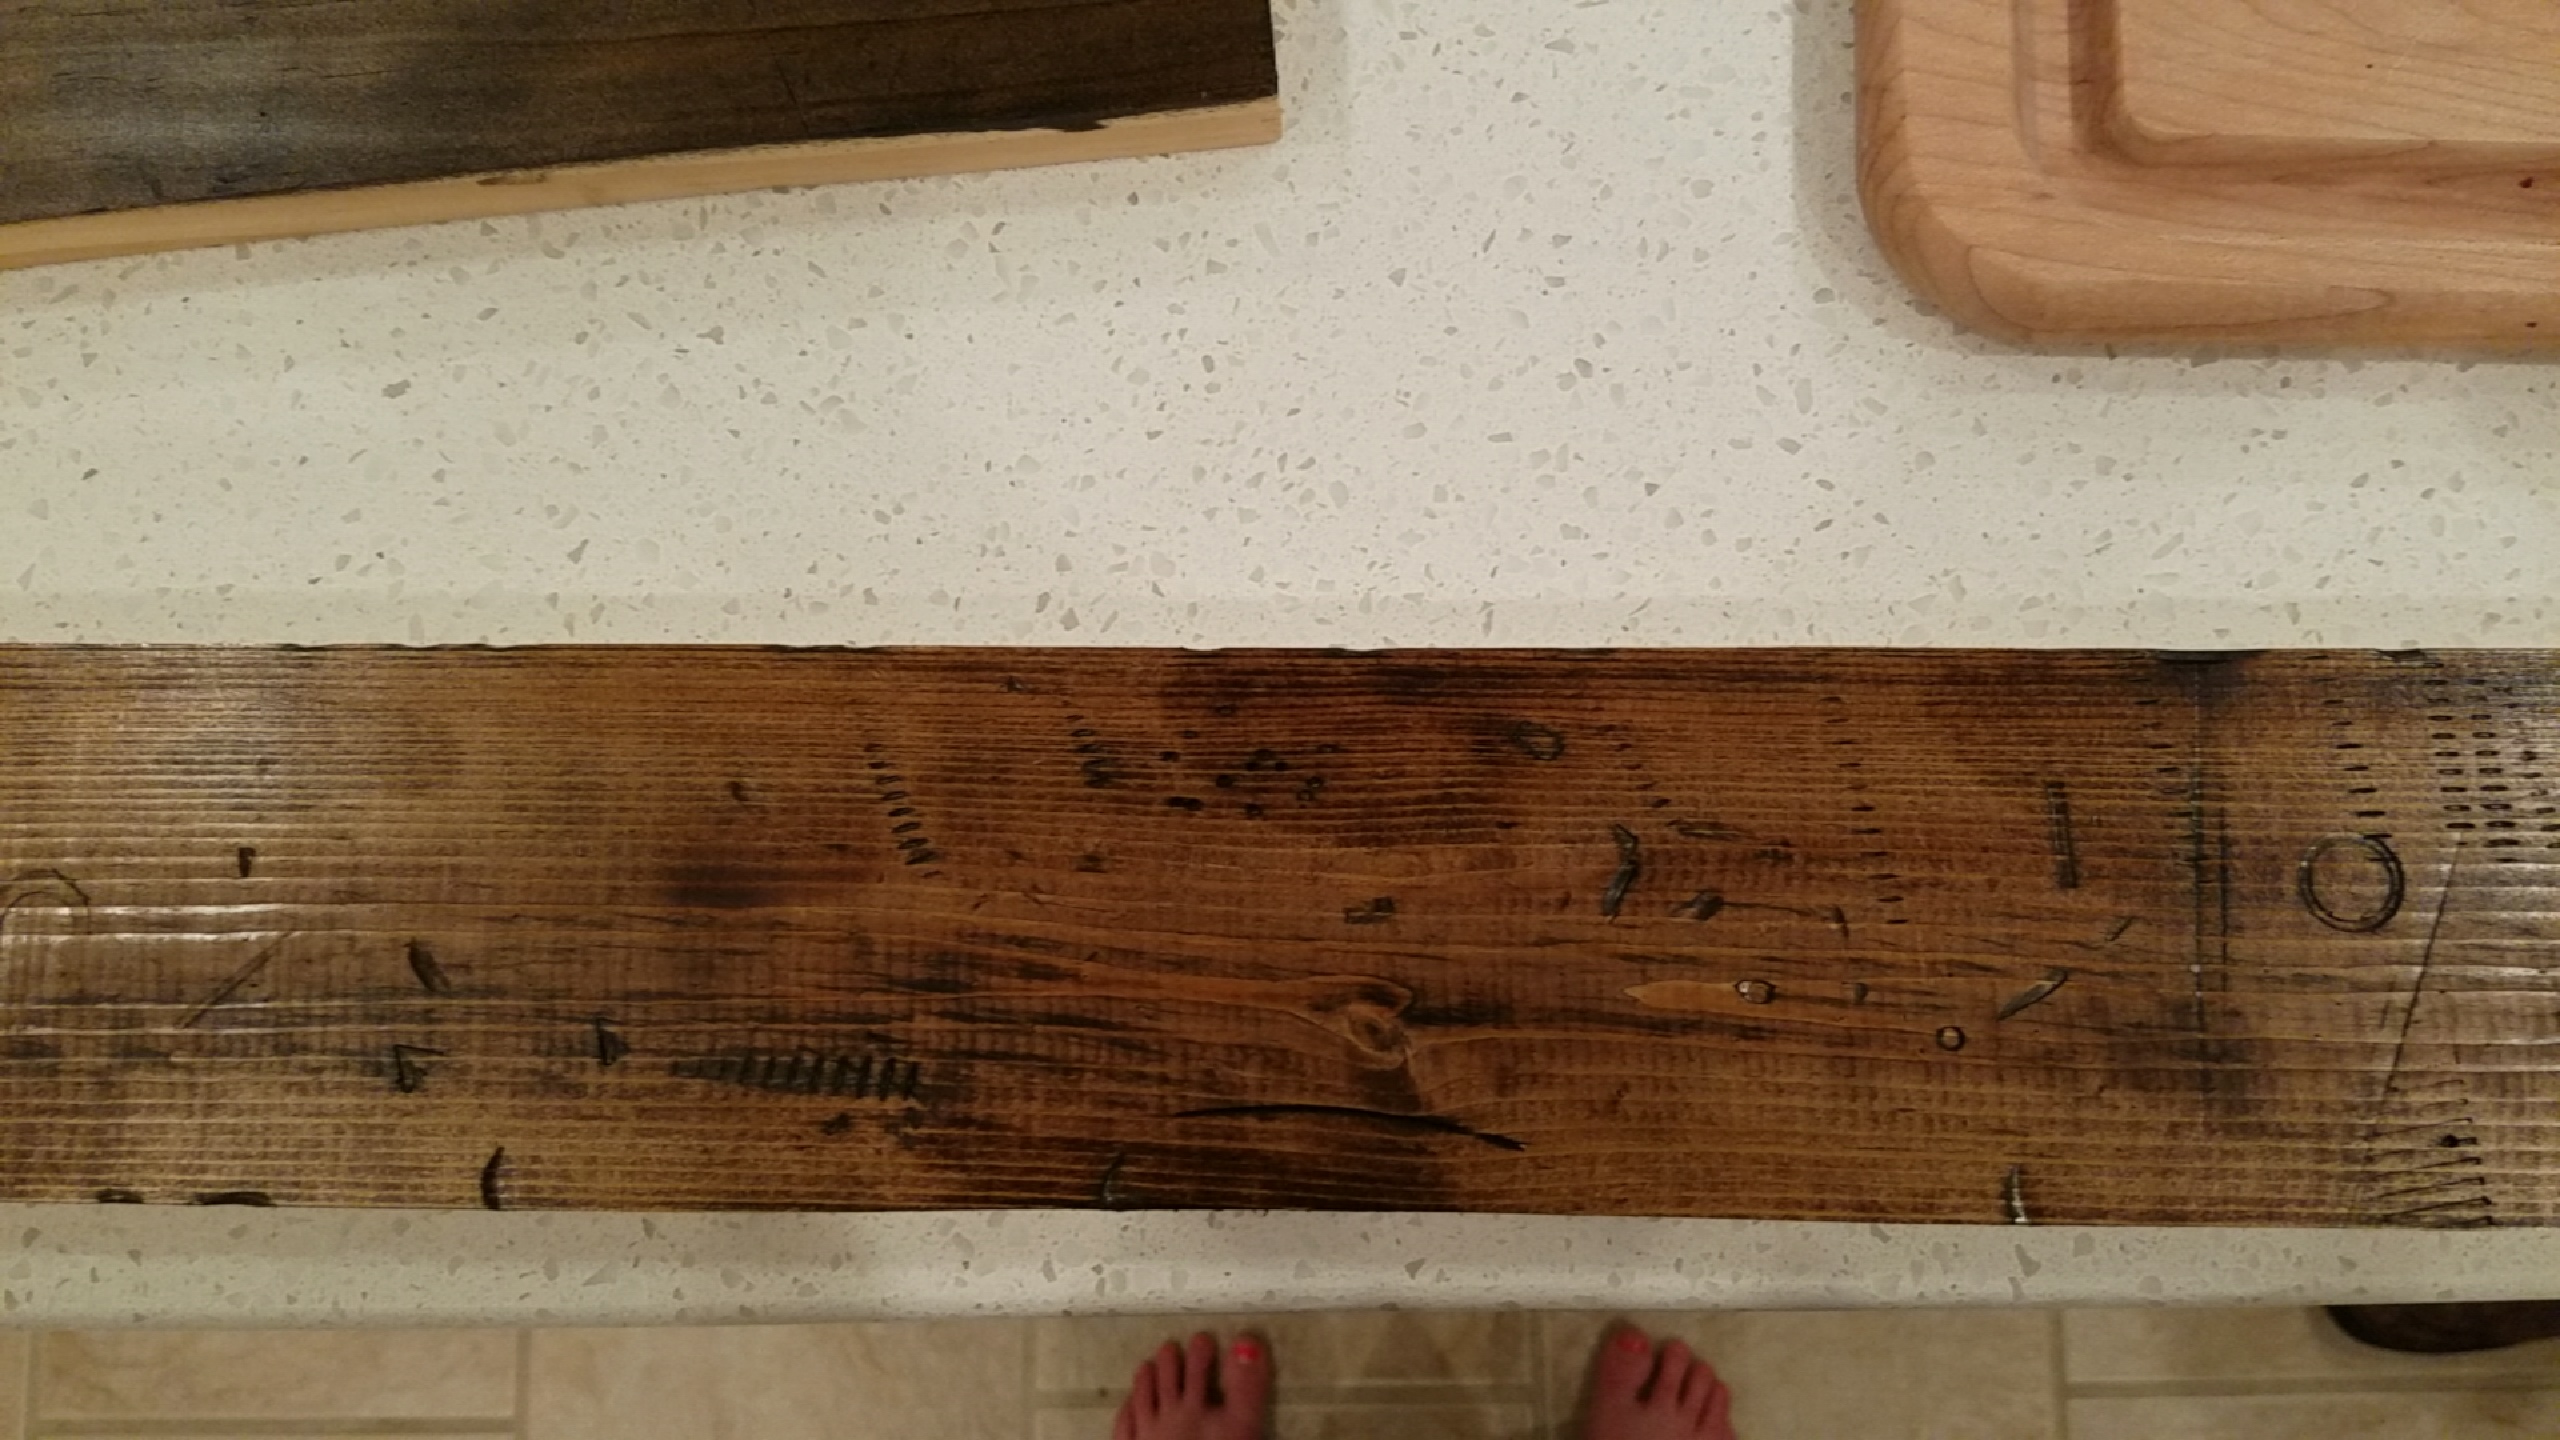
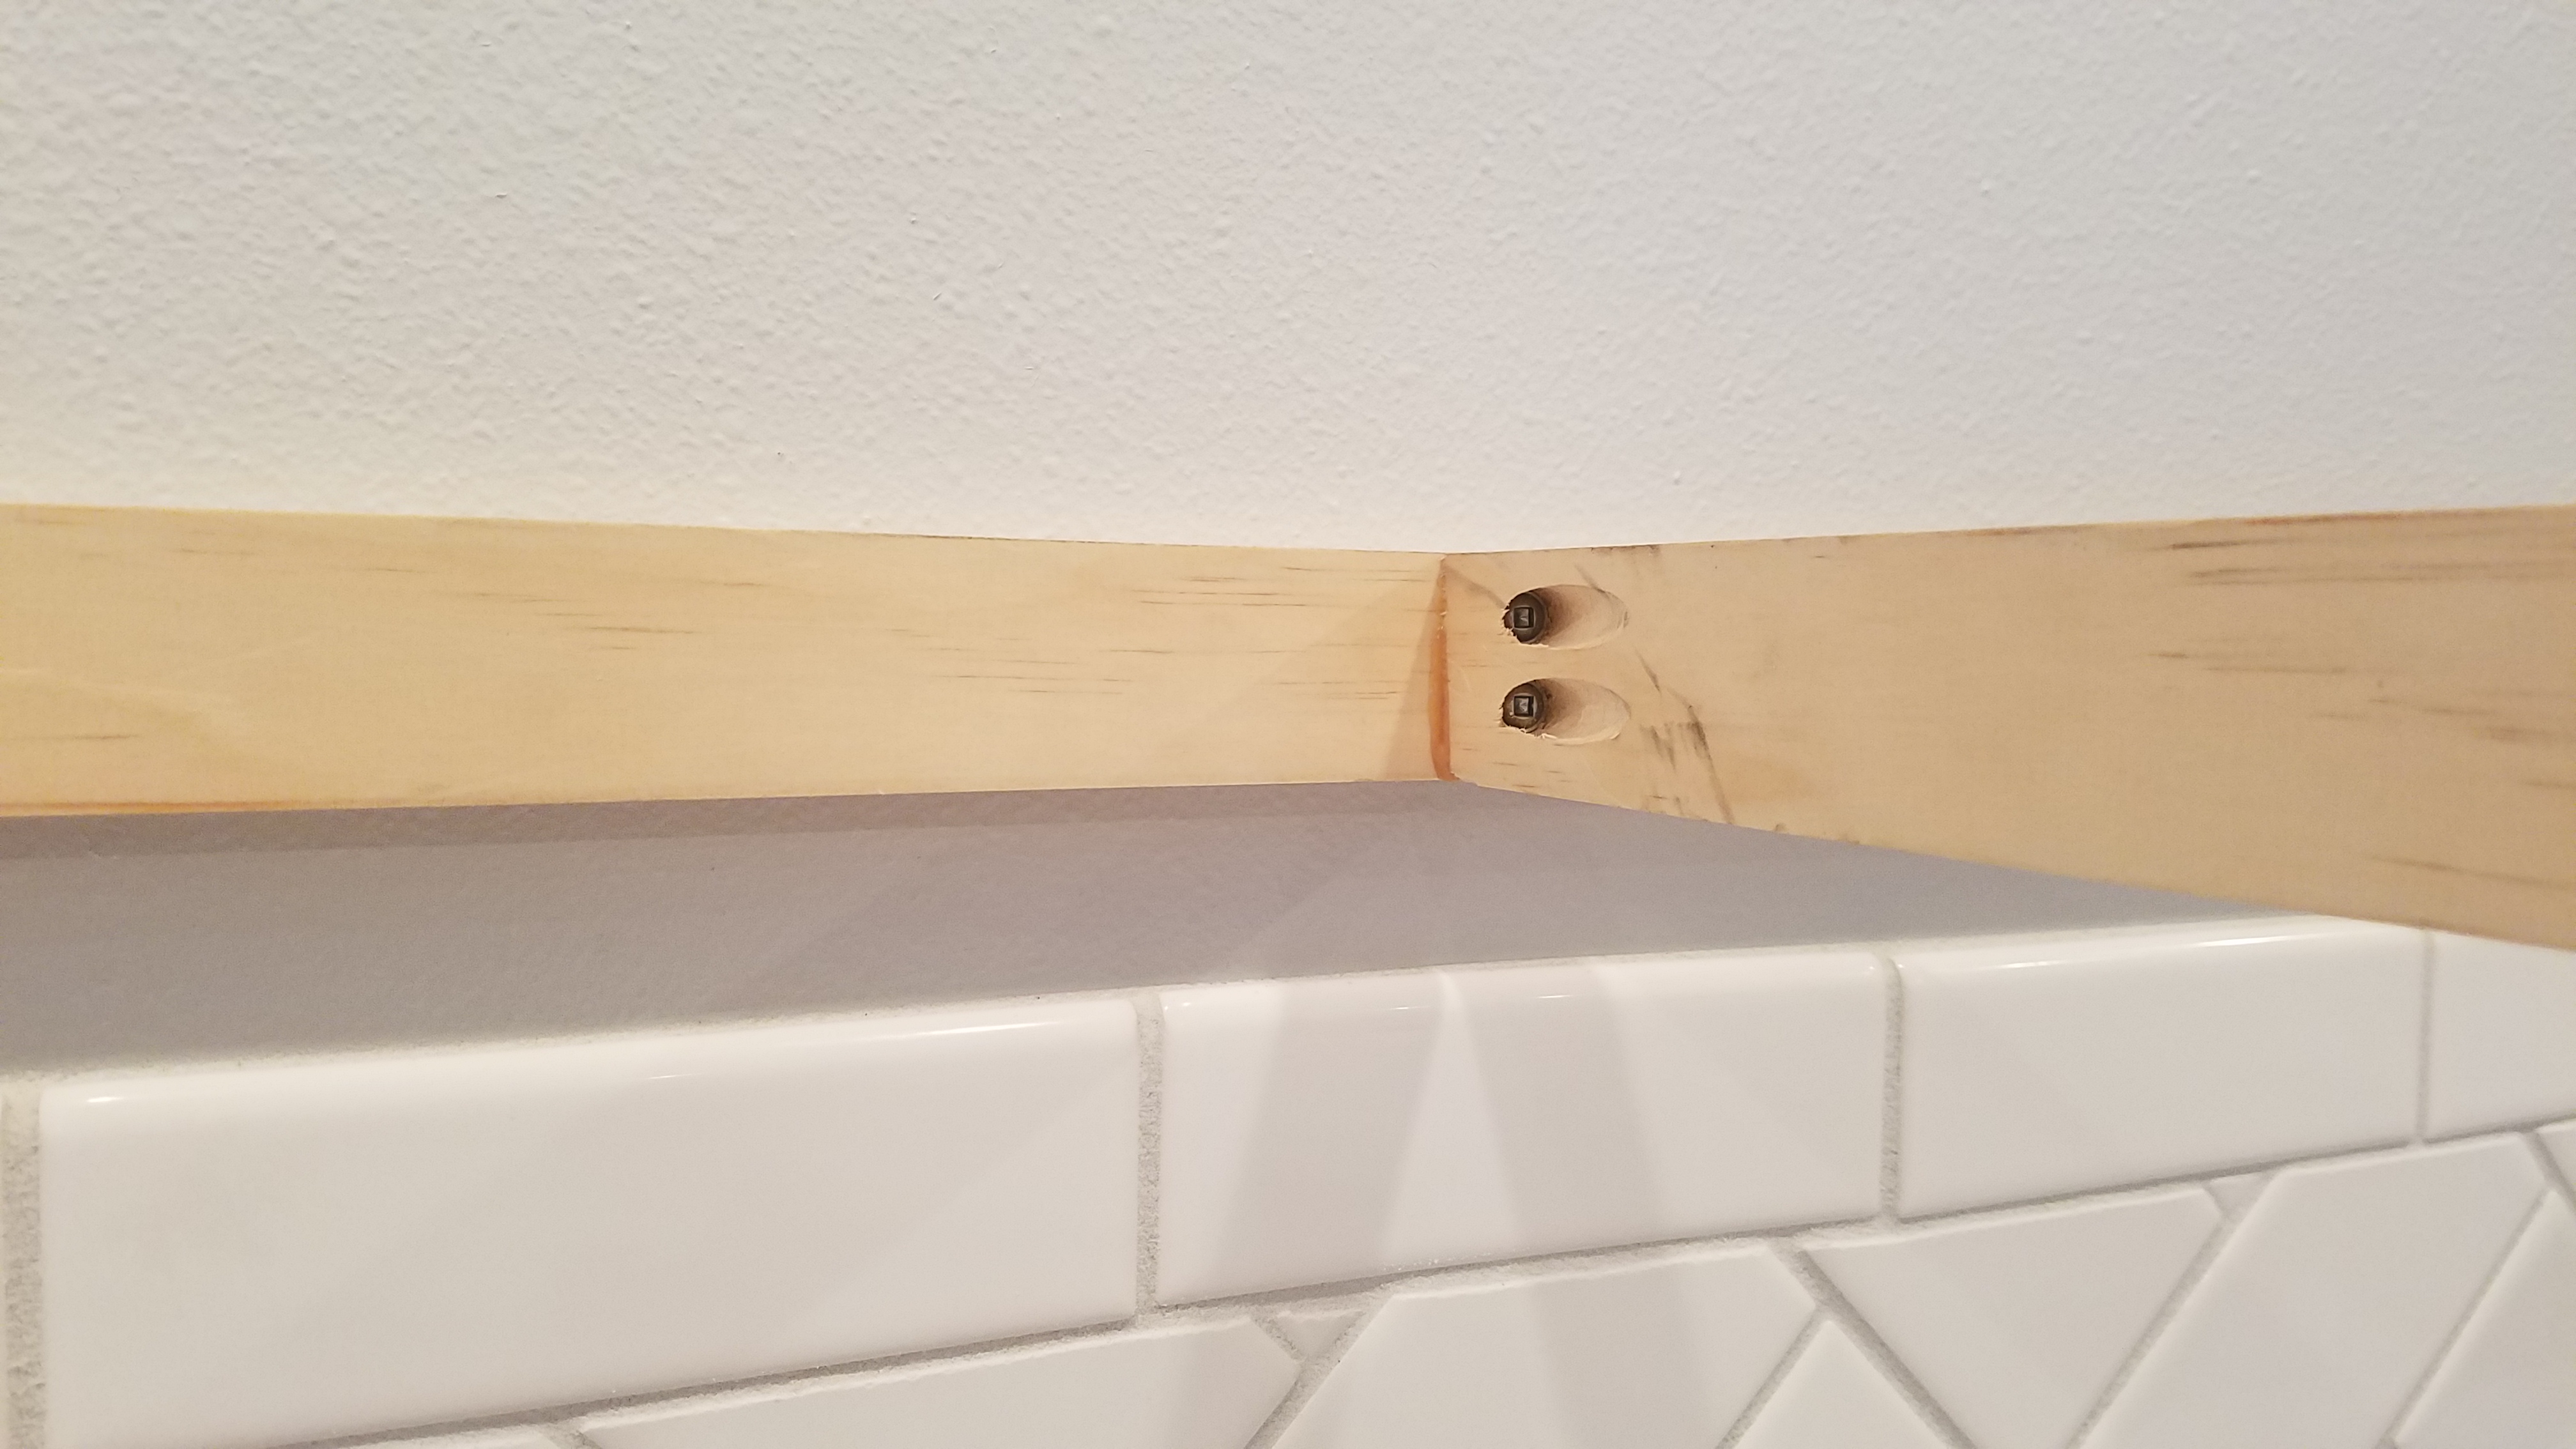
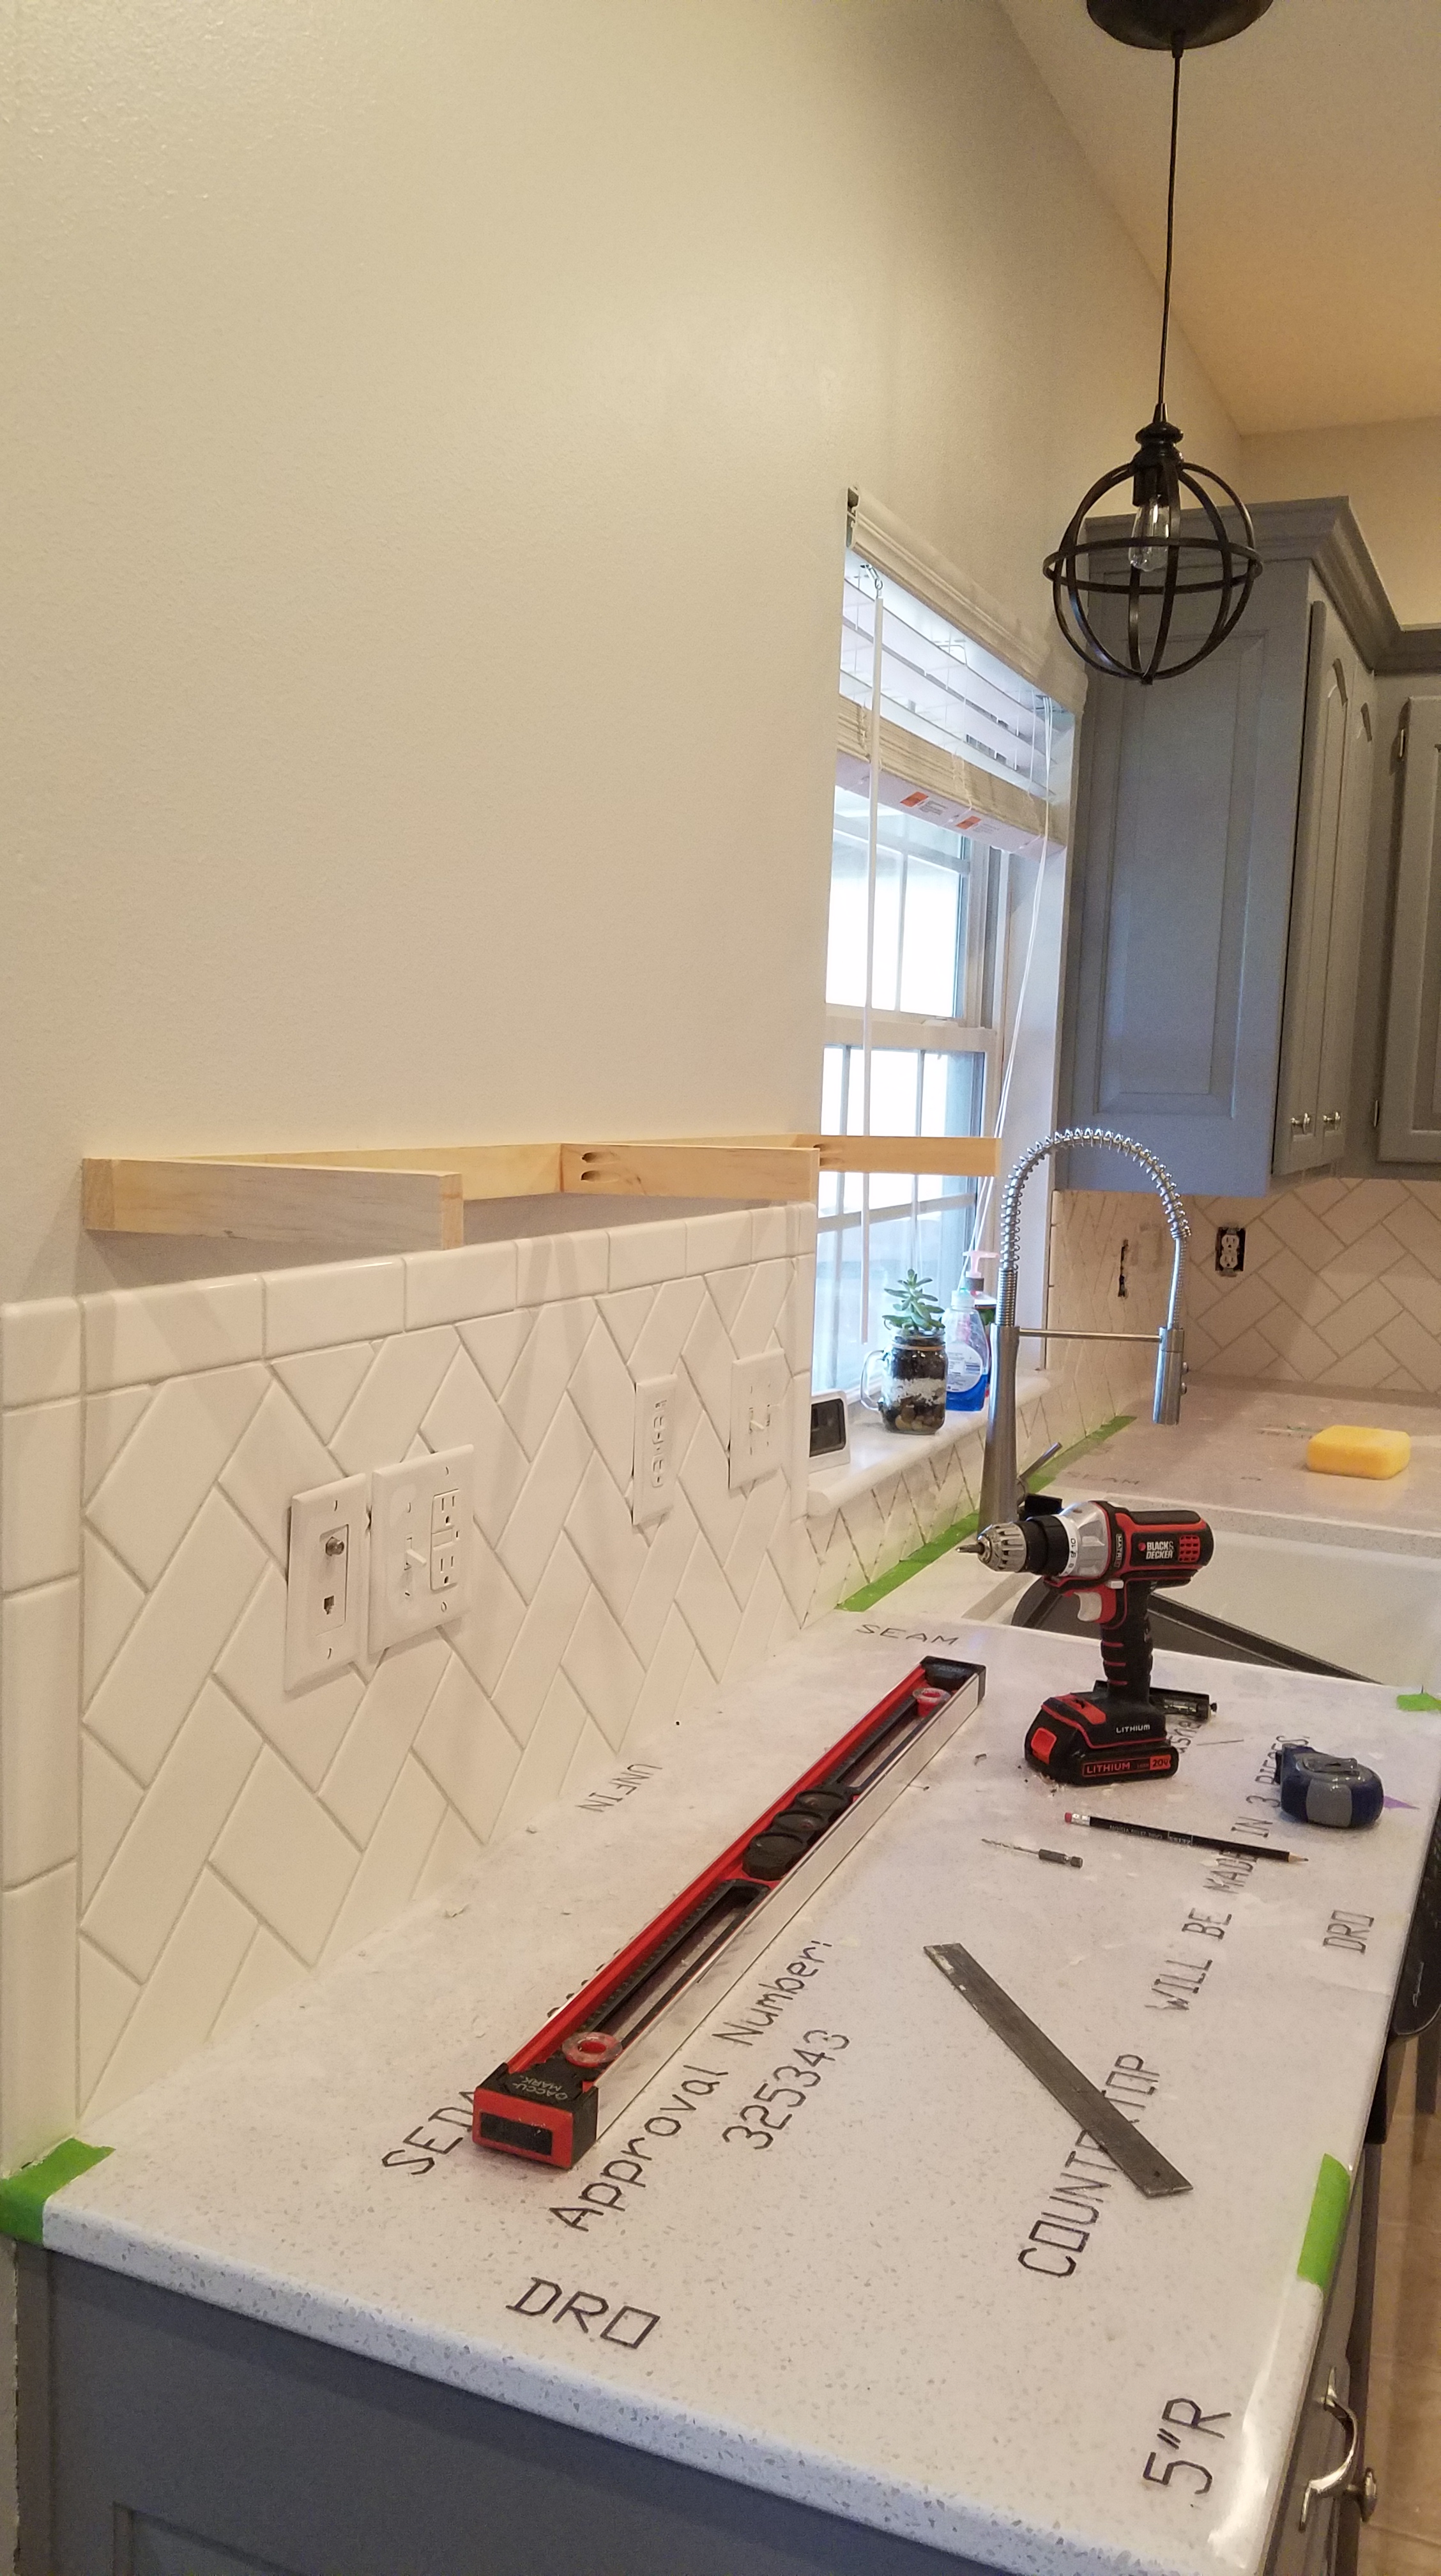
1 X 10 for the top of the shelf. Attach the boards that you have distressed in a box shape, keeping the back open.
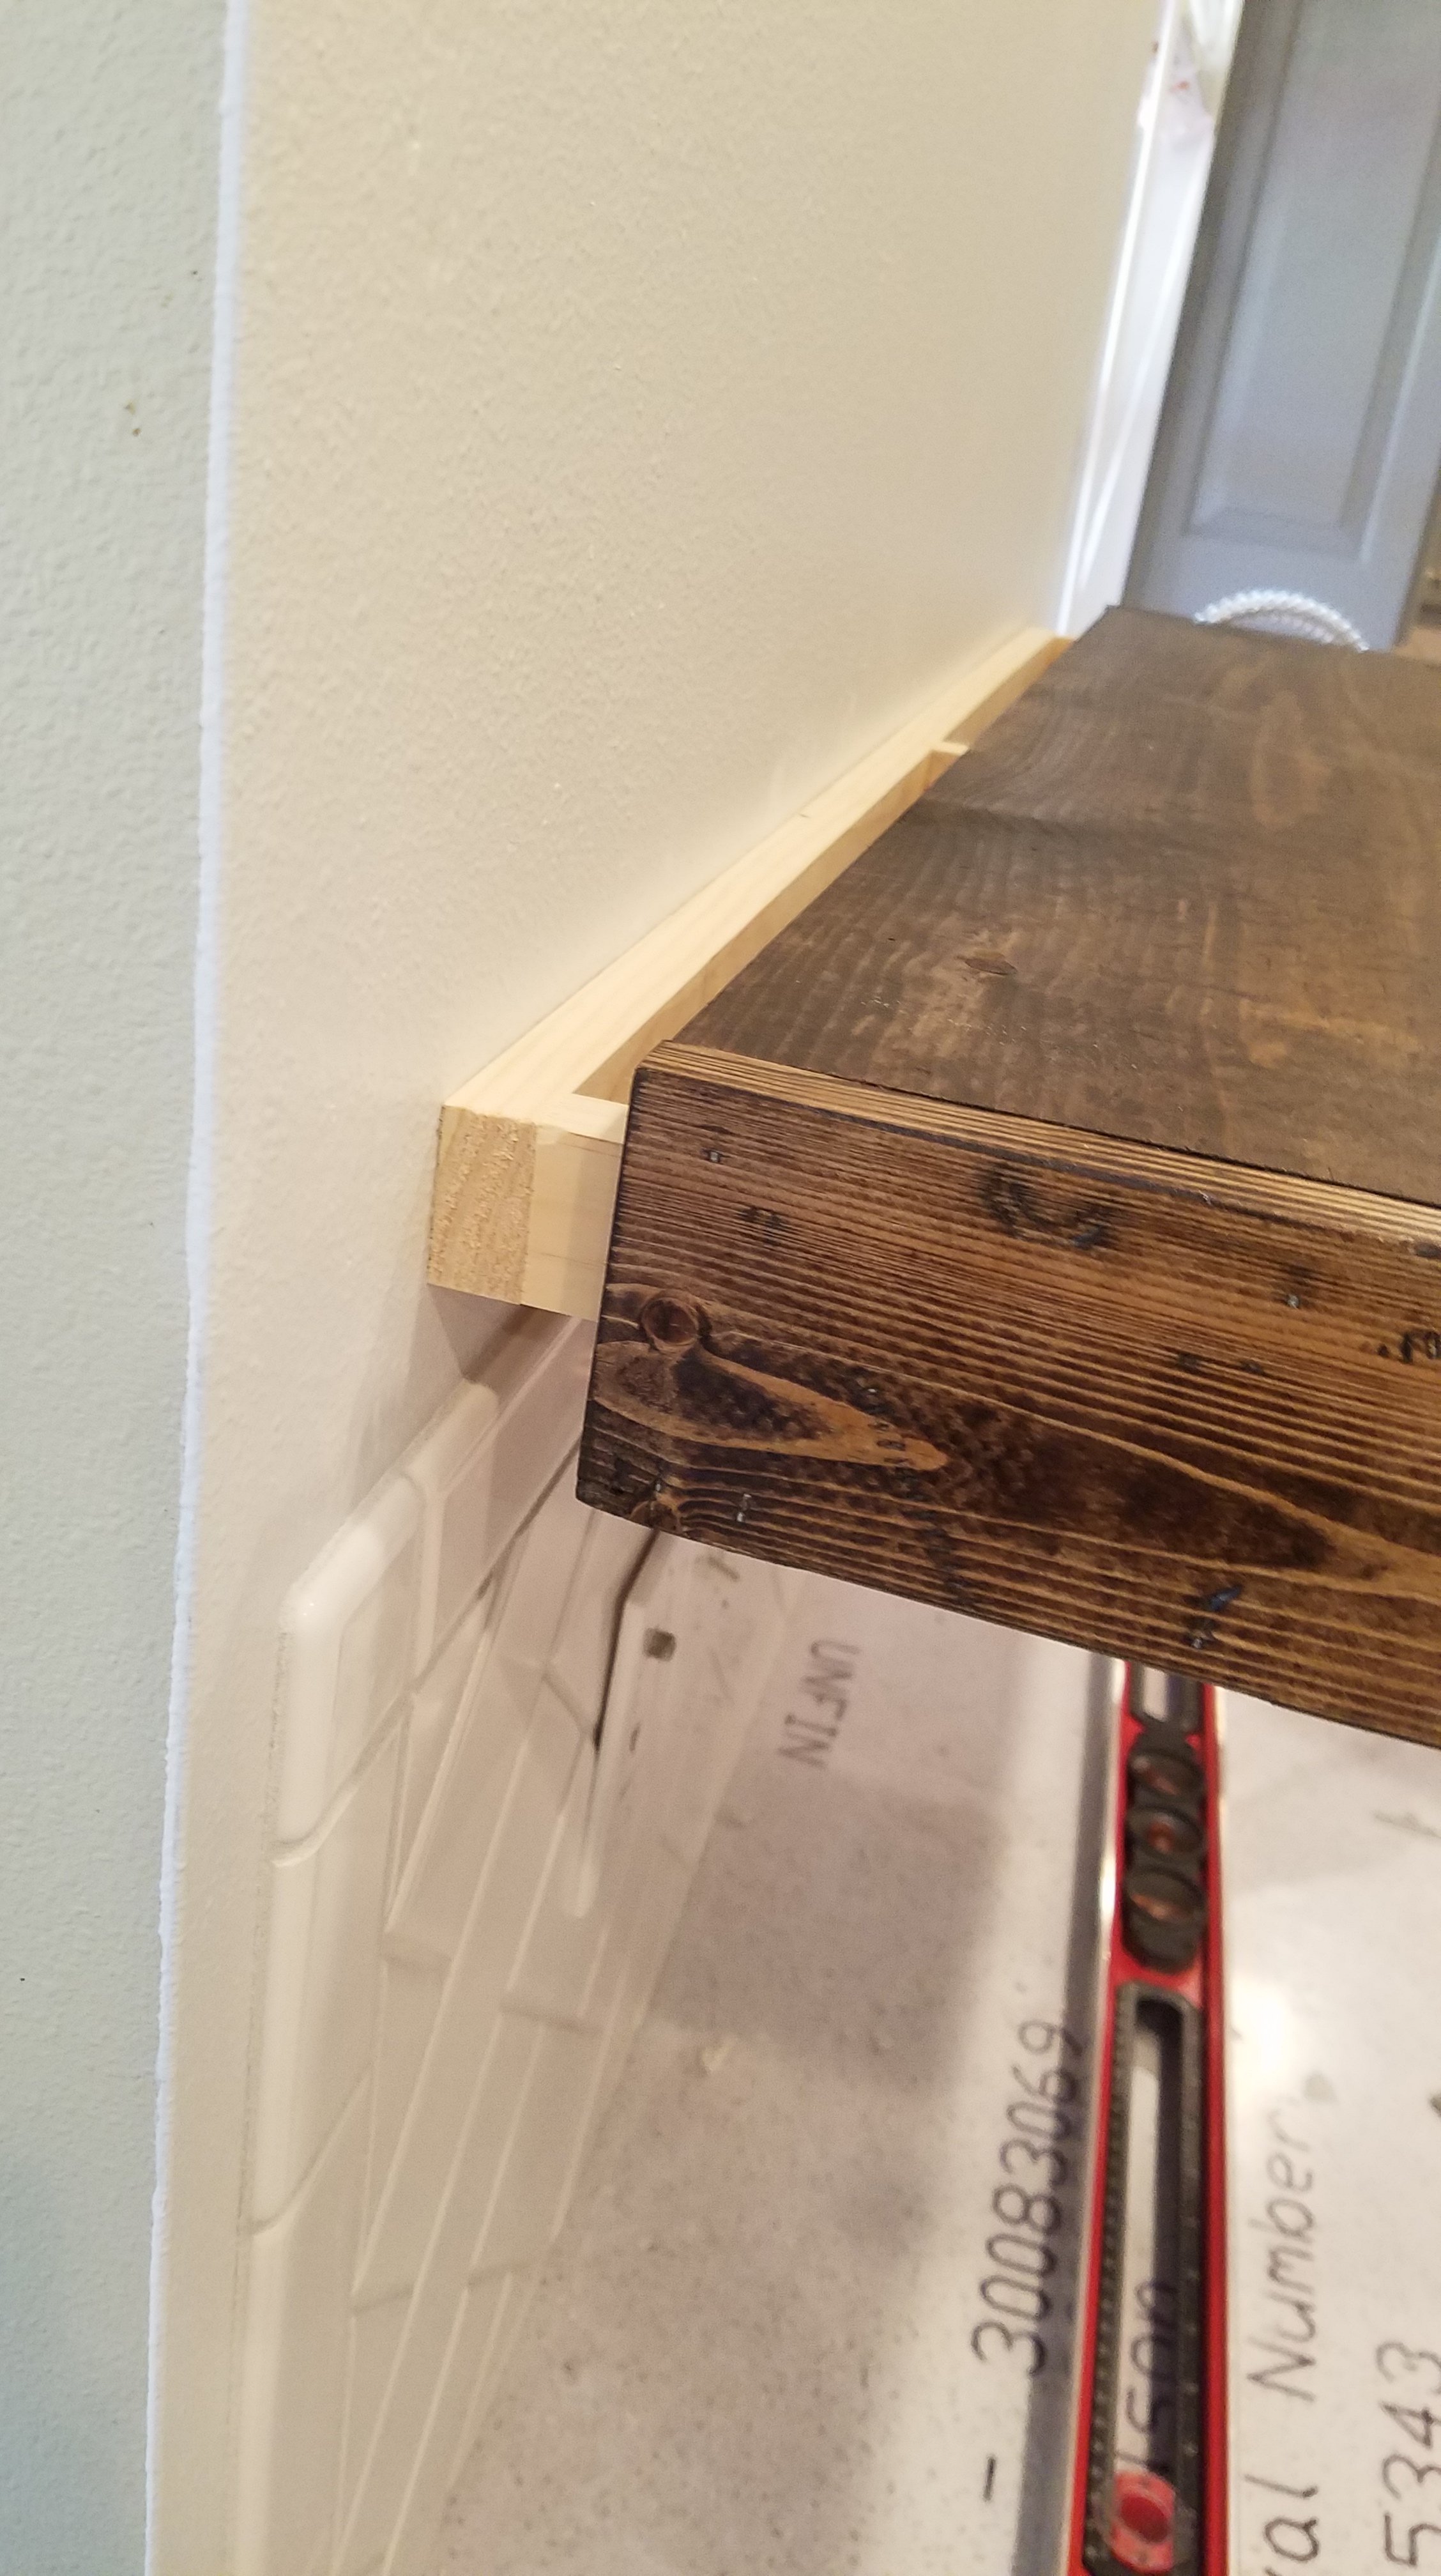
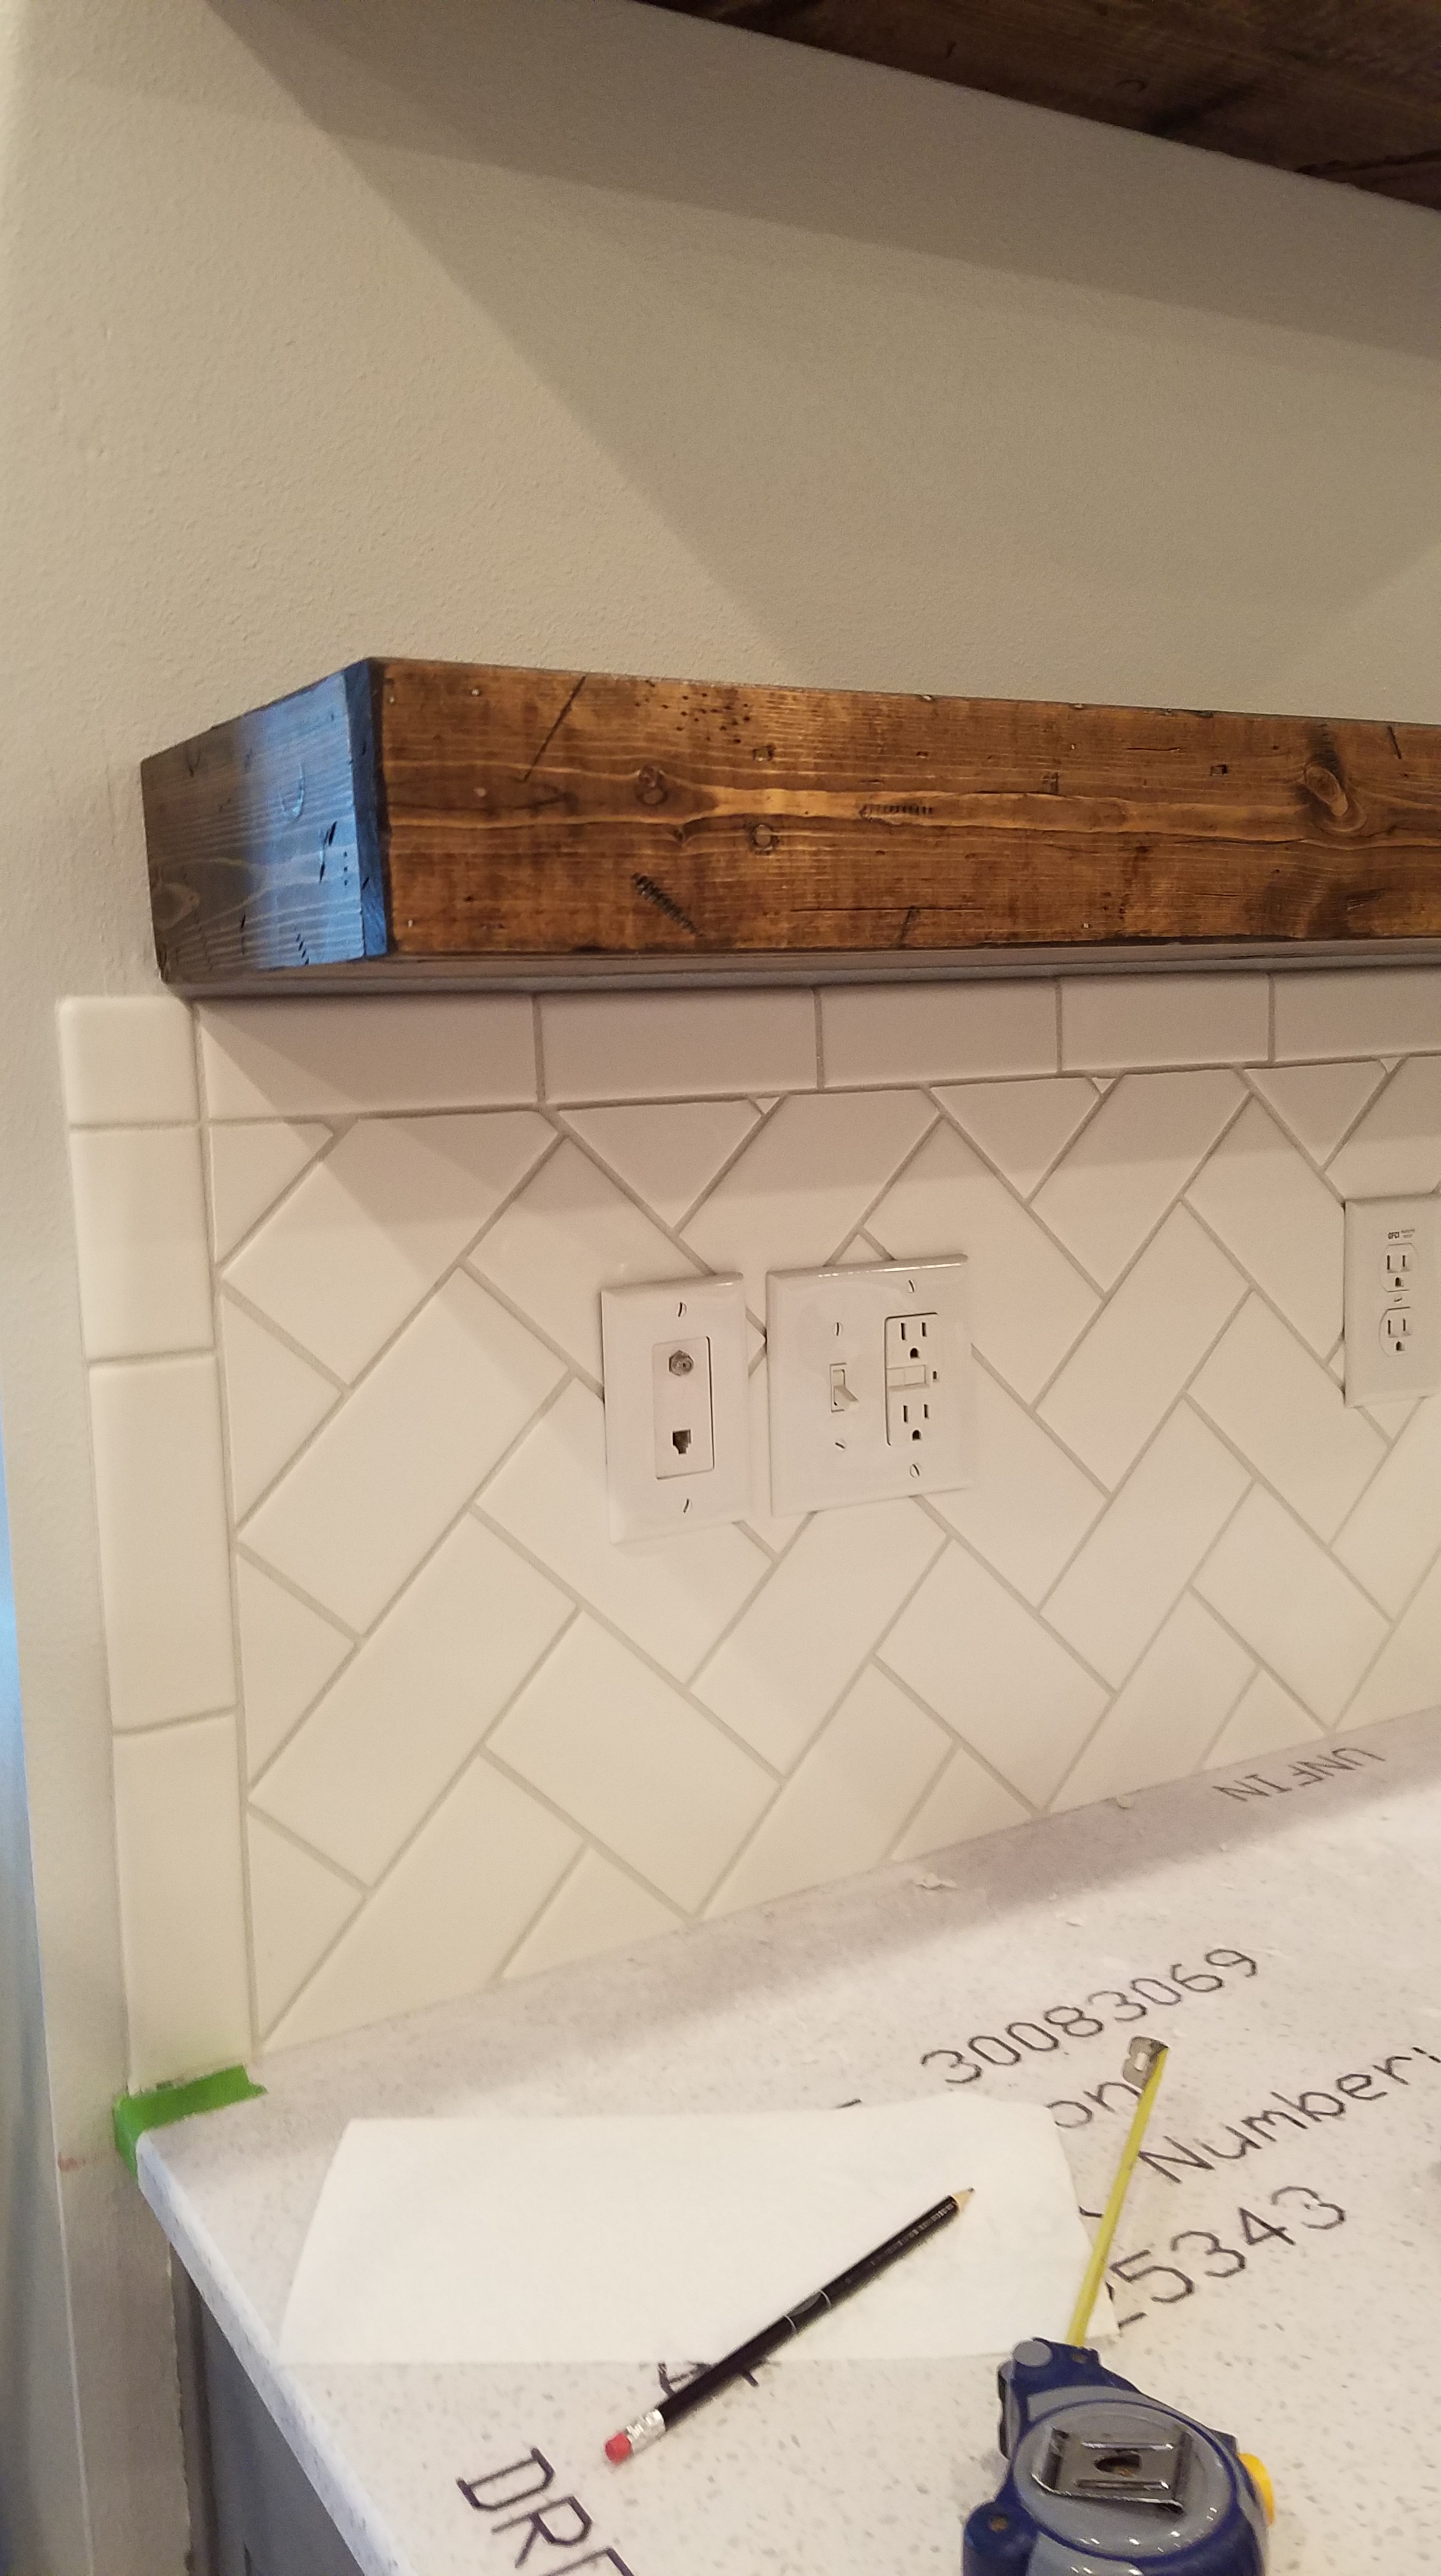
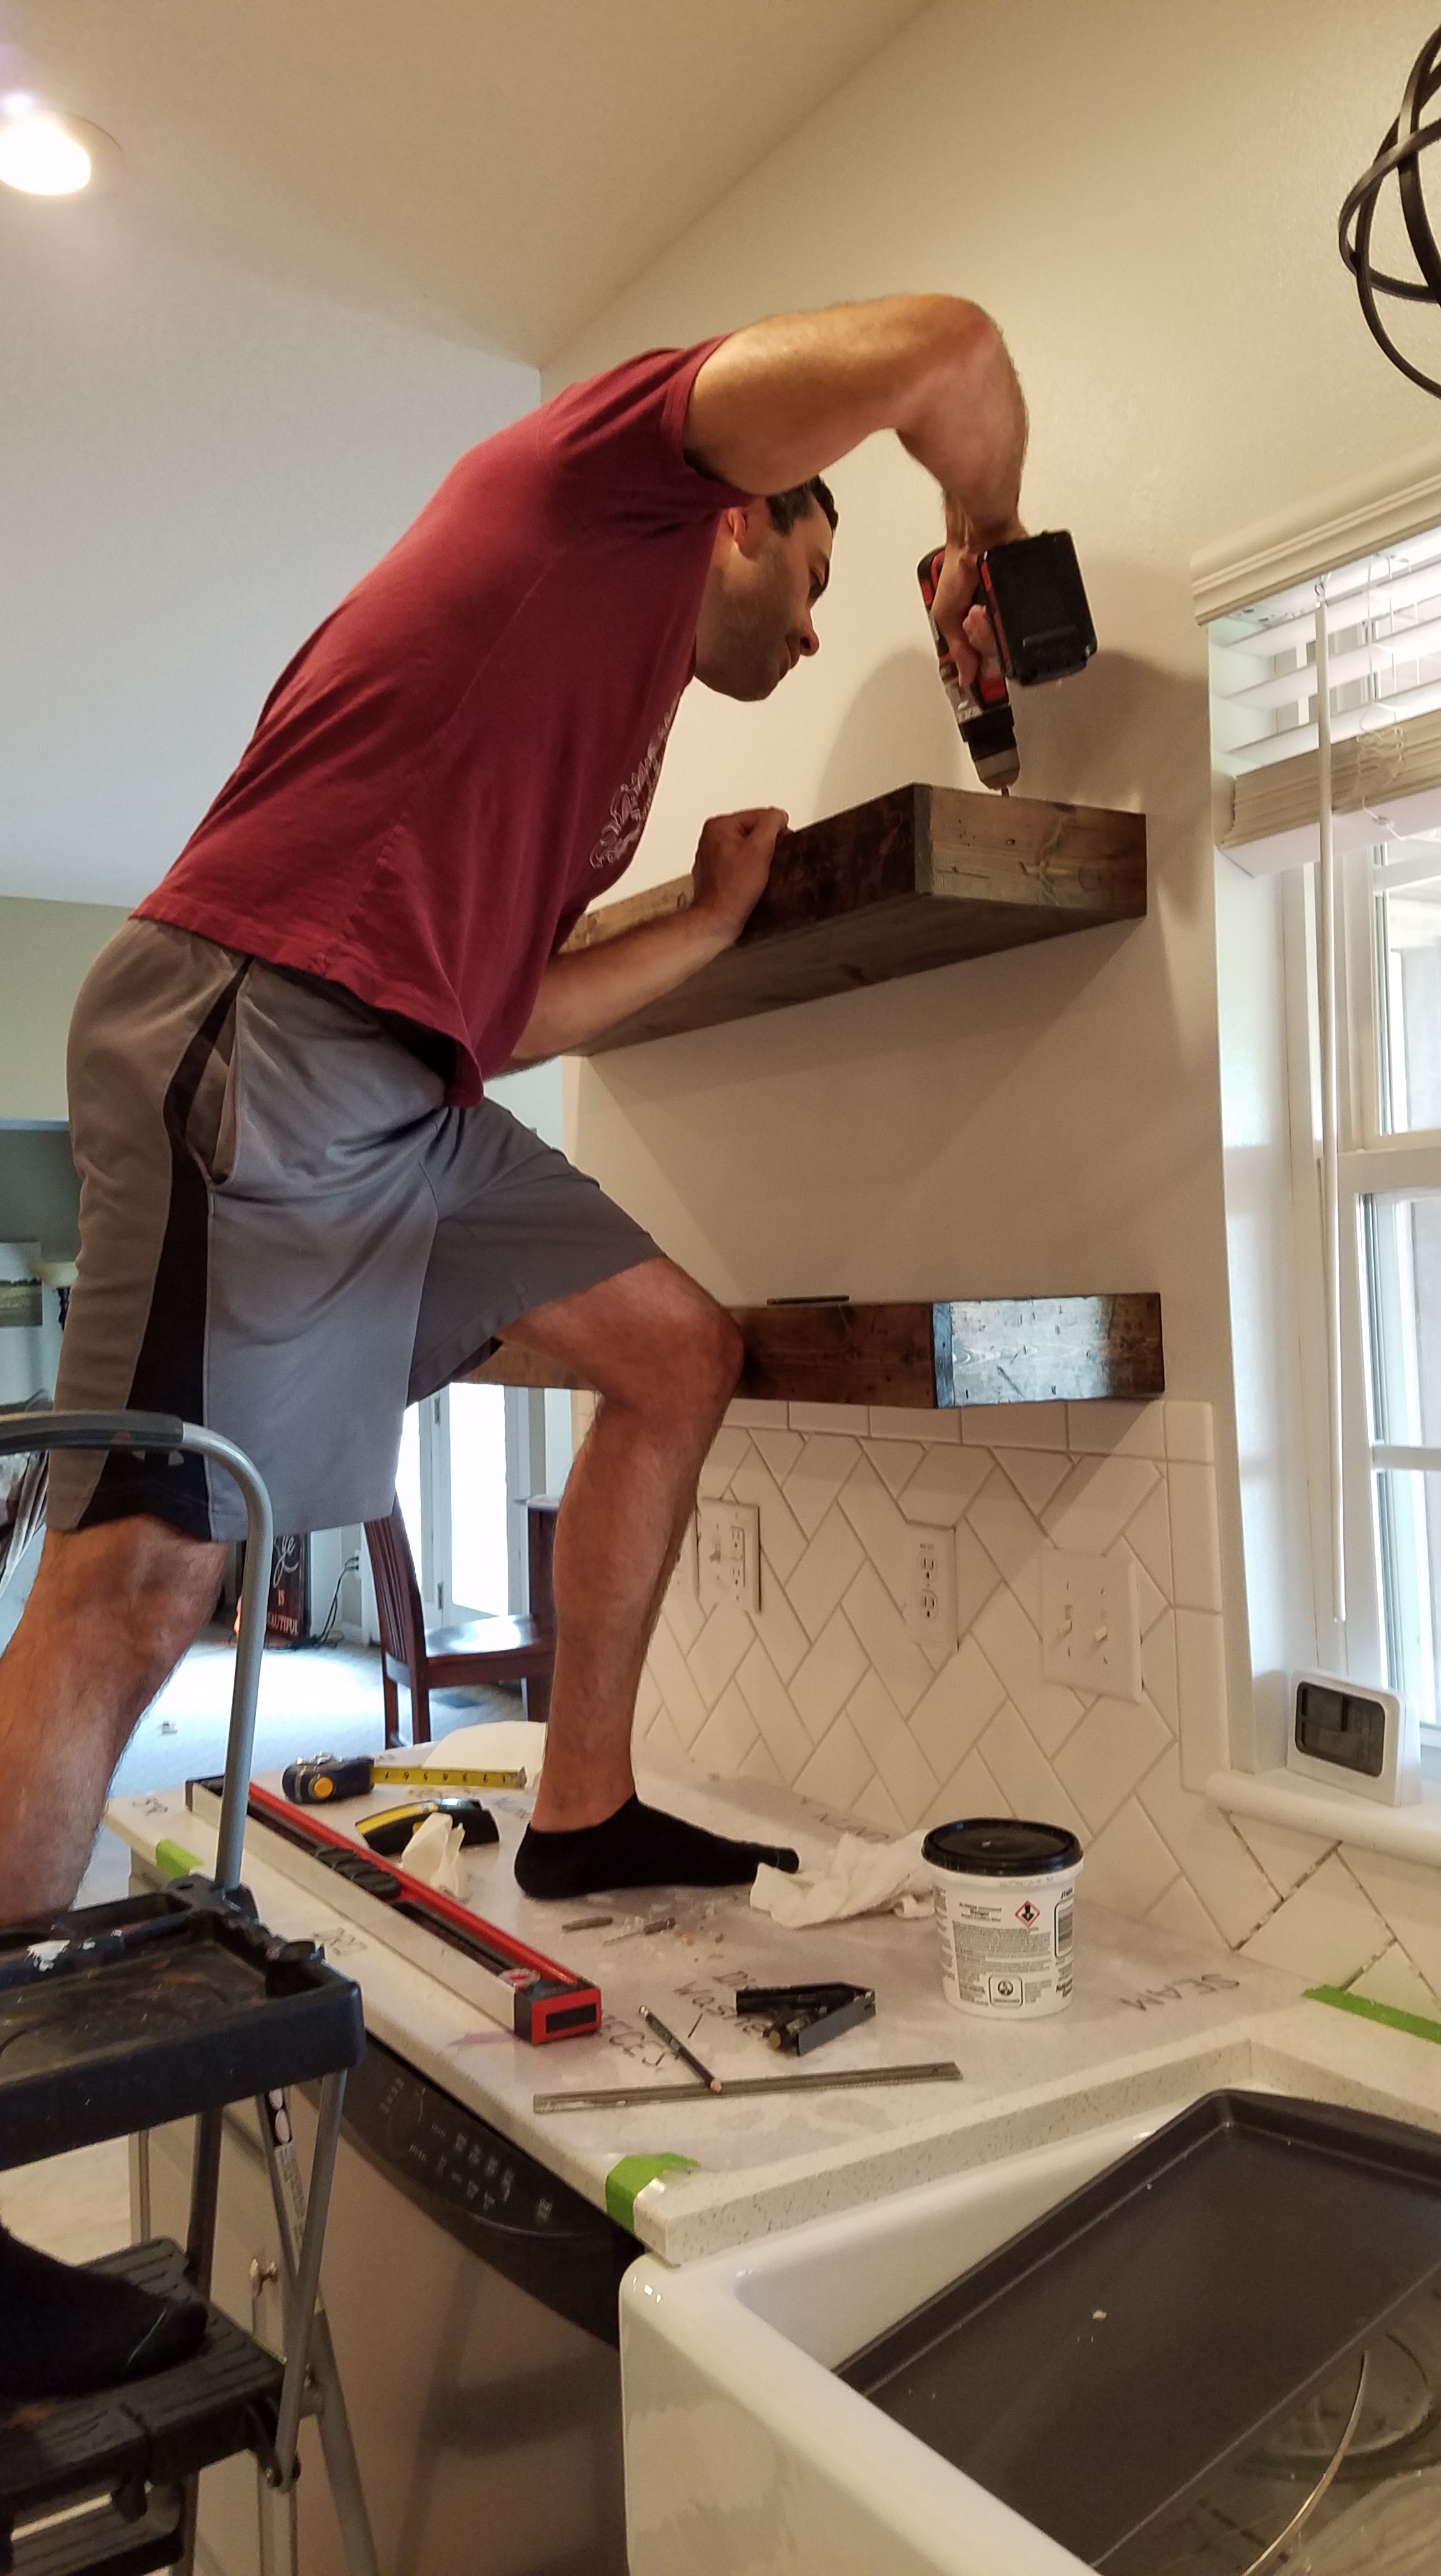
After sliding the box shelf onto the E-shaped frame, screw it all together! Now it’s ready to hold all your farmhouse décor!!
Pretty simple!
Let’s connect on Instagram @terranelsonhome


