DIY fabric wallpaper. Do you have commitment issues and a small budget?!
Inexpensive and completely removable; fabric wallpaper is such a cool idea! It goes up easy and comes off clean. They say you can even wash and reuse your fabric when you’re done. Genius!
Whether you’re in a rental home or you want to do a small area without having to buy the whole roll of wallpaper; this easy DIY project may be exactly what you’re looking for. Create your unique designer wall with this detailed tutorial.
Supplies Needed
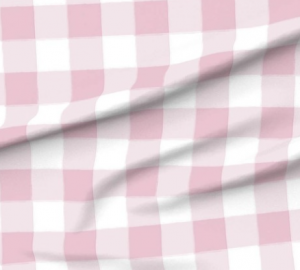
Lightweight fabric of your choice – I used duck cloth and it was fine!
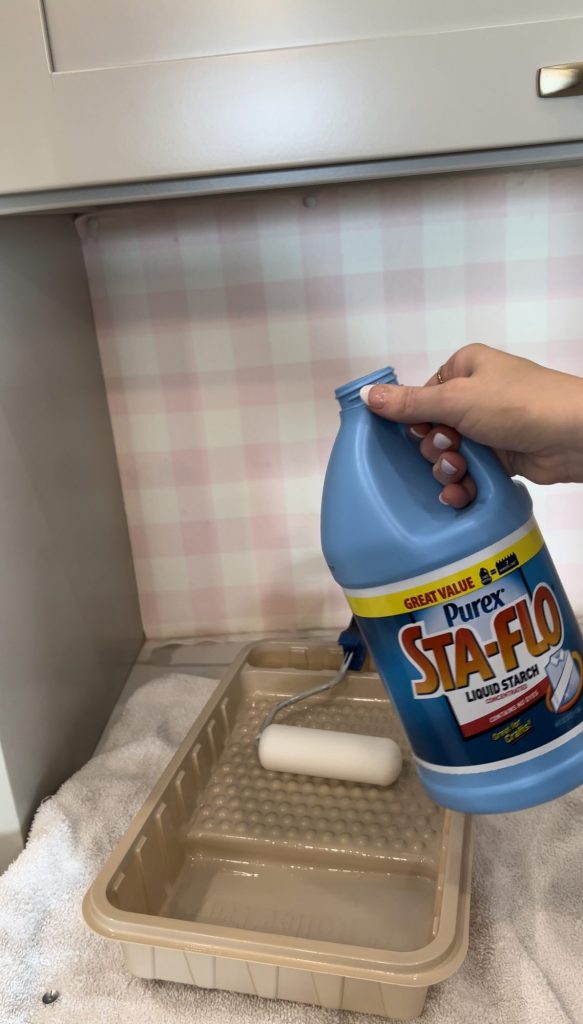
Liquid Fabric starch
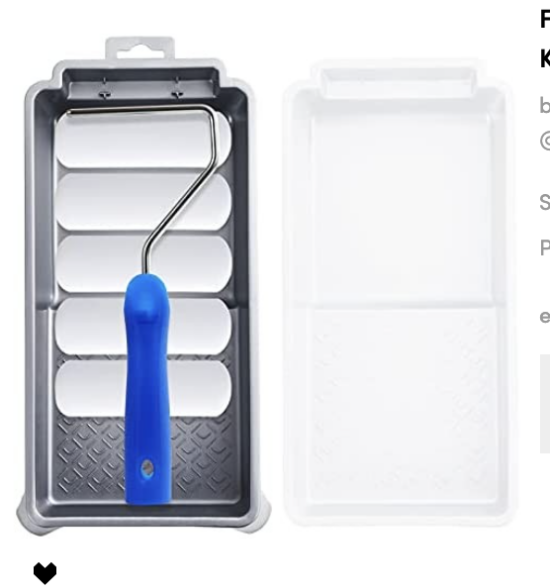
A paint roller & pan
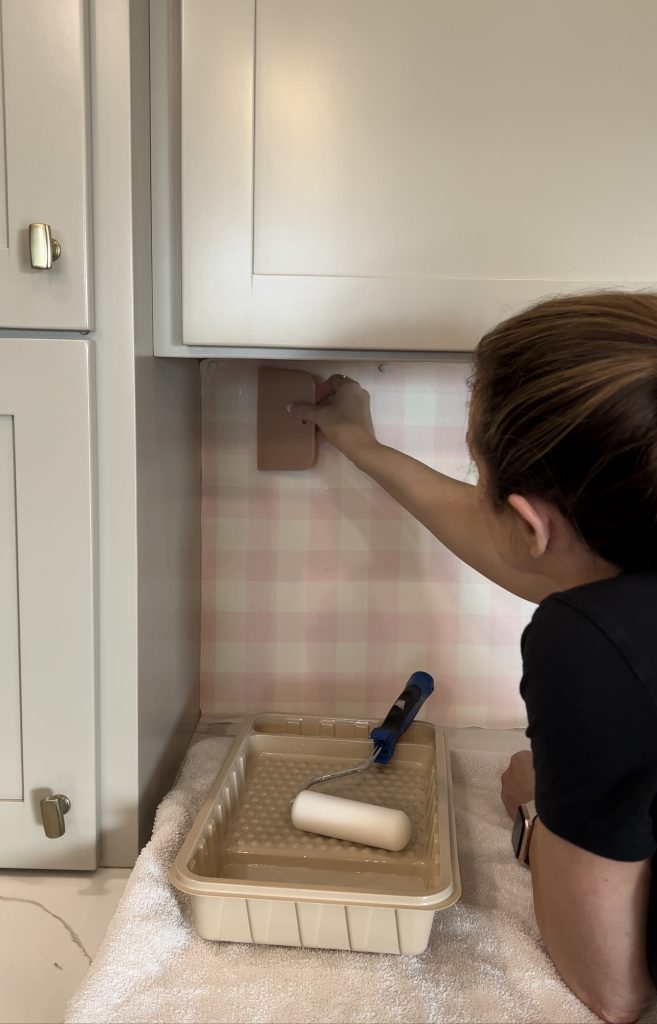
A wallpaper scraper
A washcloth
Thumbtacks
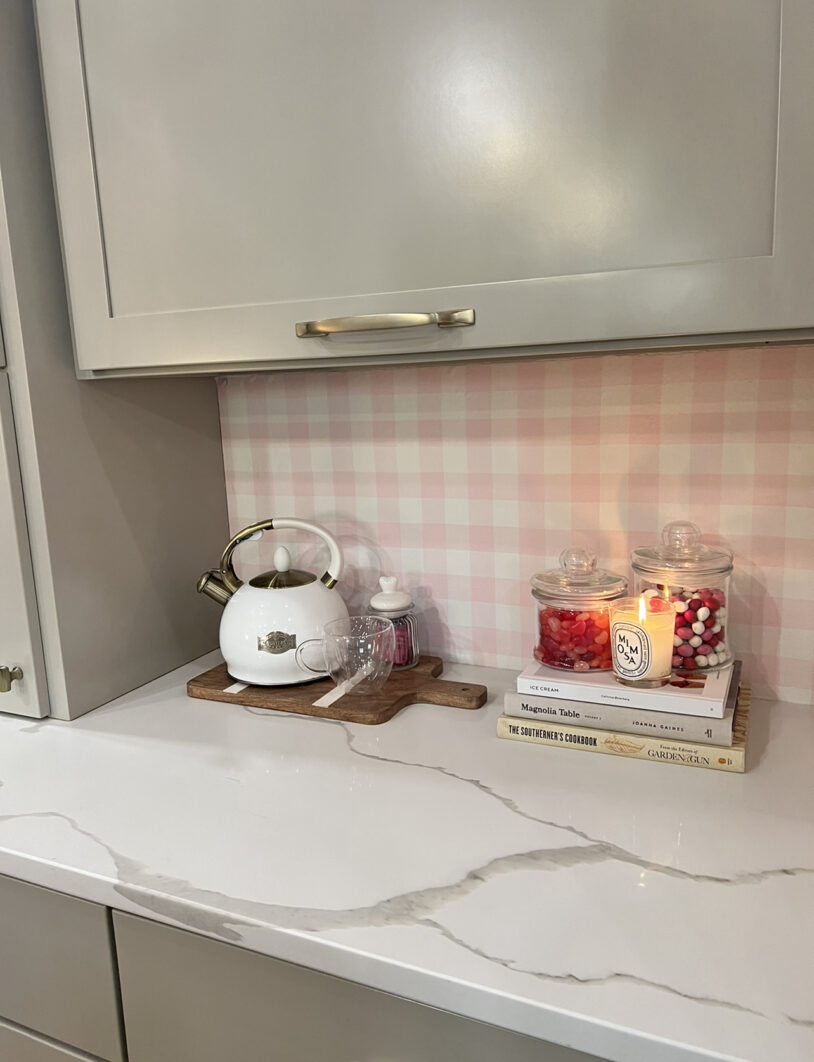
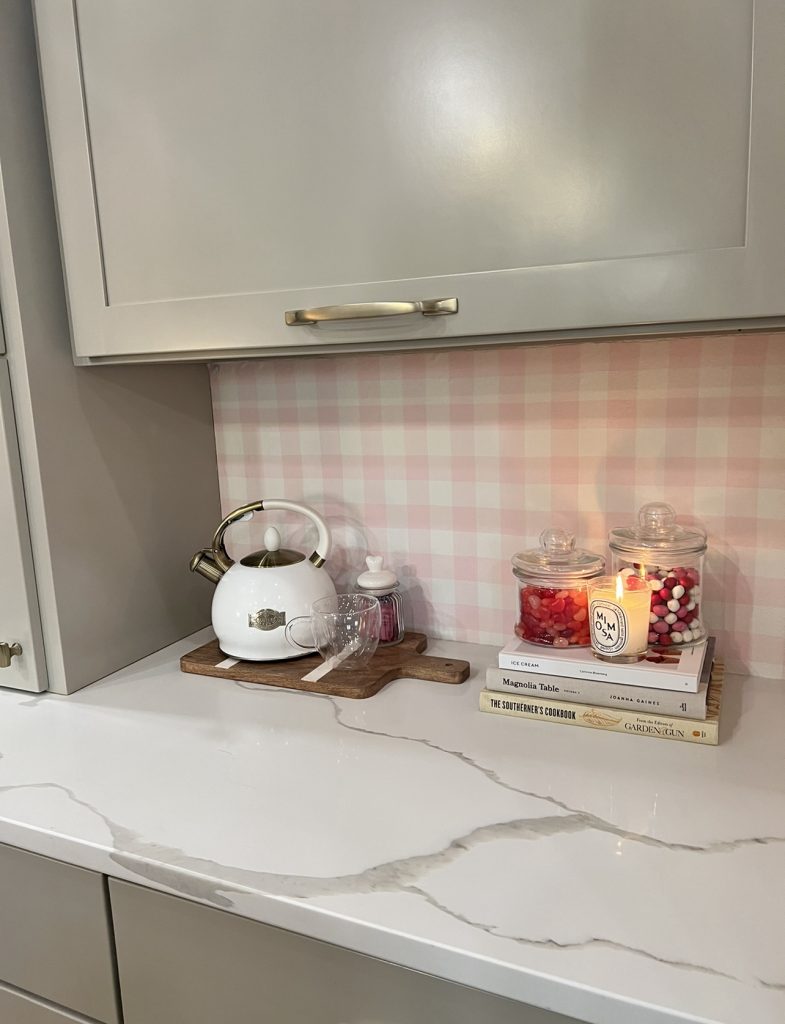
I did a small area on my coffee wall. The directions are the same, except I looked up directions for large walls too! I want to do this again in another room.
Directions
• Before you begin, you will need to determine how much fabric you need. Start by measuring your wall from floor to ceiling, adding a couple of extra inches to your measurement. This will give you your panel length.
• Next, measure the wall from end to end. Divide this measurement by the width of your fabric, rounding up to the nearest whole number. (The extra fabric will allow for any trimming required to match the pattern from the previous piece.) The result will tell you how many panels you’ll need.
• Finally, multiply your panel length by the number of panels needed, and divide by 36 (the number of inches in a yard). This will tell you how many yards of fabric to purchase.
• Using your initial measurements as a guide, prepare your fabric panels. If your fabric has a design, be sure that the pattern transitions nicely from one panel to another before cutting the next piece.
• Iron the material to remove all wrinkles.
Now you are ready to apply!
• Prepare your wall, wiping away any dirt or dog slobber with a damp washcloth or rag.
• Pour starch into a large, clean pan. Using a paint roller or sponge, apply starch to the top half of the wall.
• Smooth fabric into place at the top of the wall, leaving about 1 inch to be trimmed later. (The extra fabric allows for minor pattern adjustments and a cleaner edge.
• Using thumbtacks to temporarily hold the top of the fabric in place, continue to apply starch and smooth fabric against the wall until you reach the floor, leaving a roughly 1-inch overlap at floor level. Secure with more thumbtacks if necessary.
• Next, apply fabric starch to the top of the fabric. Be sure the starch penetrates the fabric evenly.
• Using your scraping tool, smooth fabric from the top-down, adding more starch and removing any bubbles or wrinkles as you go.
• Position the second panel, matching the design along the edge of the previous panel. Repeat steps.
• Once the fabric is completely dry and stiff, trim off any excess using a razor knife. Be sure fabric is completely dry before trimming any of the overlap! We made the mistake of doing it instantly and it was a nightmare.
It’s easily removable too!
This part I had to look up because I haven’t removed mine yet!
Here’s what the internet says:
Simply peel one corner loose, and then continue to gently pull the fabric away from the wall panel by panel. If you have any trouble, dampen the problem area with a wet sponge. (This will dissolve the starch, making it easier to peel the fabric off the wall.)When you’re finished, remove any residue with a clean, wet cloth, and toss the used fabric into your washing machine. The starch will melt away, leaving you with clean, reusable fabric.
