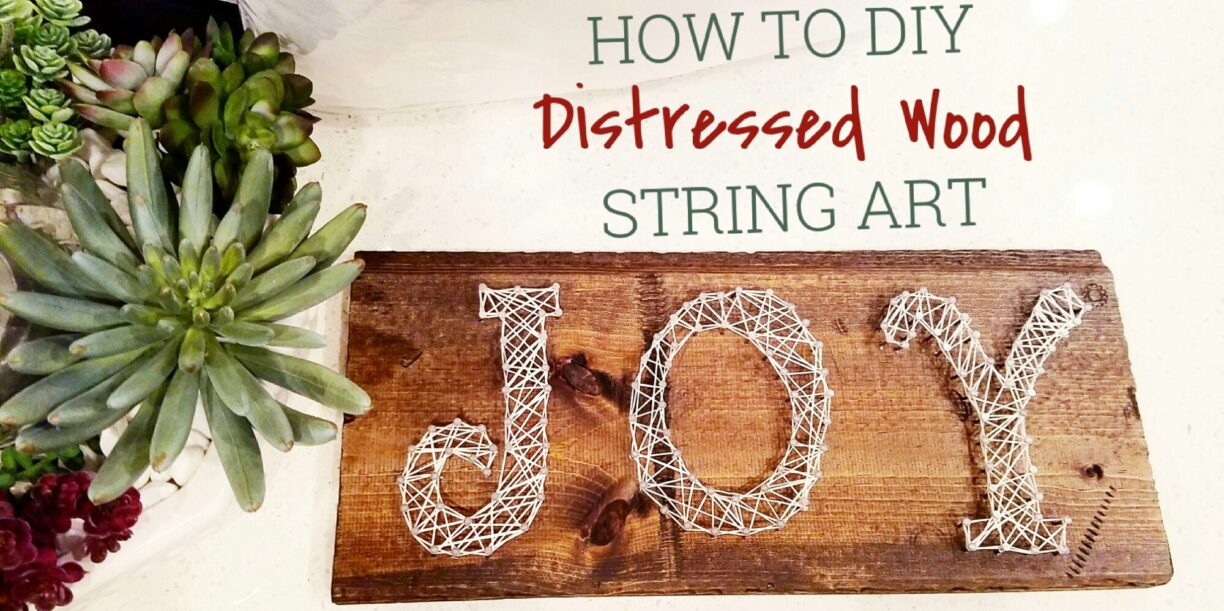
What you’ll need :
Wood (whatever size you’d like, for the ornaments, we went to hobby lobby and picked up pre made wood slices)
Embroidery String – I used 2 “strands” in white
Nails – wire nails 3/4 X 16 is what I had
Stain – you could use any color really
Random tools to distress the wood
Patience
I started with a scrap piece of wood that was spare from the shiplap fireplace DIY project.
Ben had already gotten down the distressing with the floating shelves in the kitchen, so of course I wanted to try it out too. We took a hammer, screws, nuts and a special tool to make the “worm holes”.
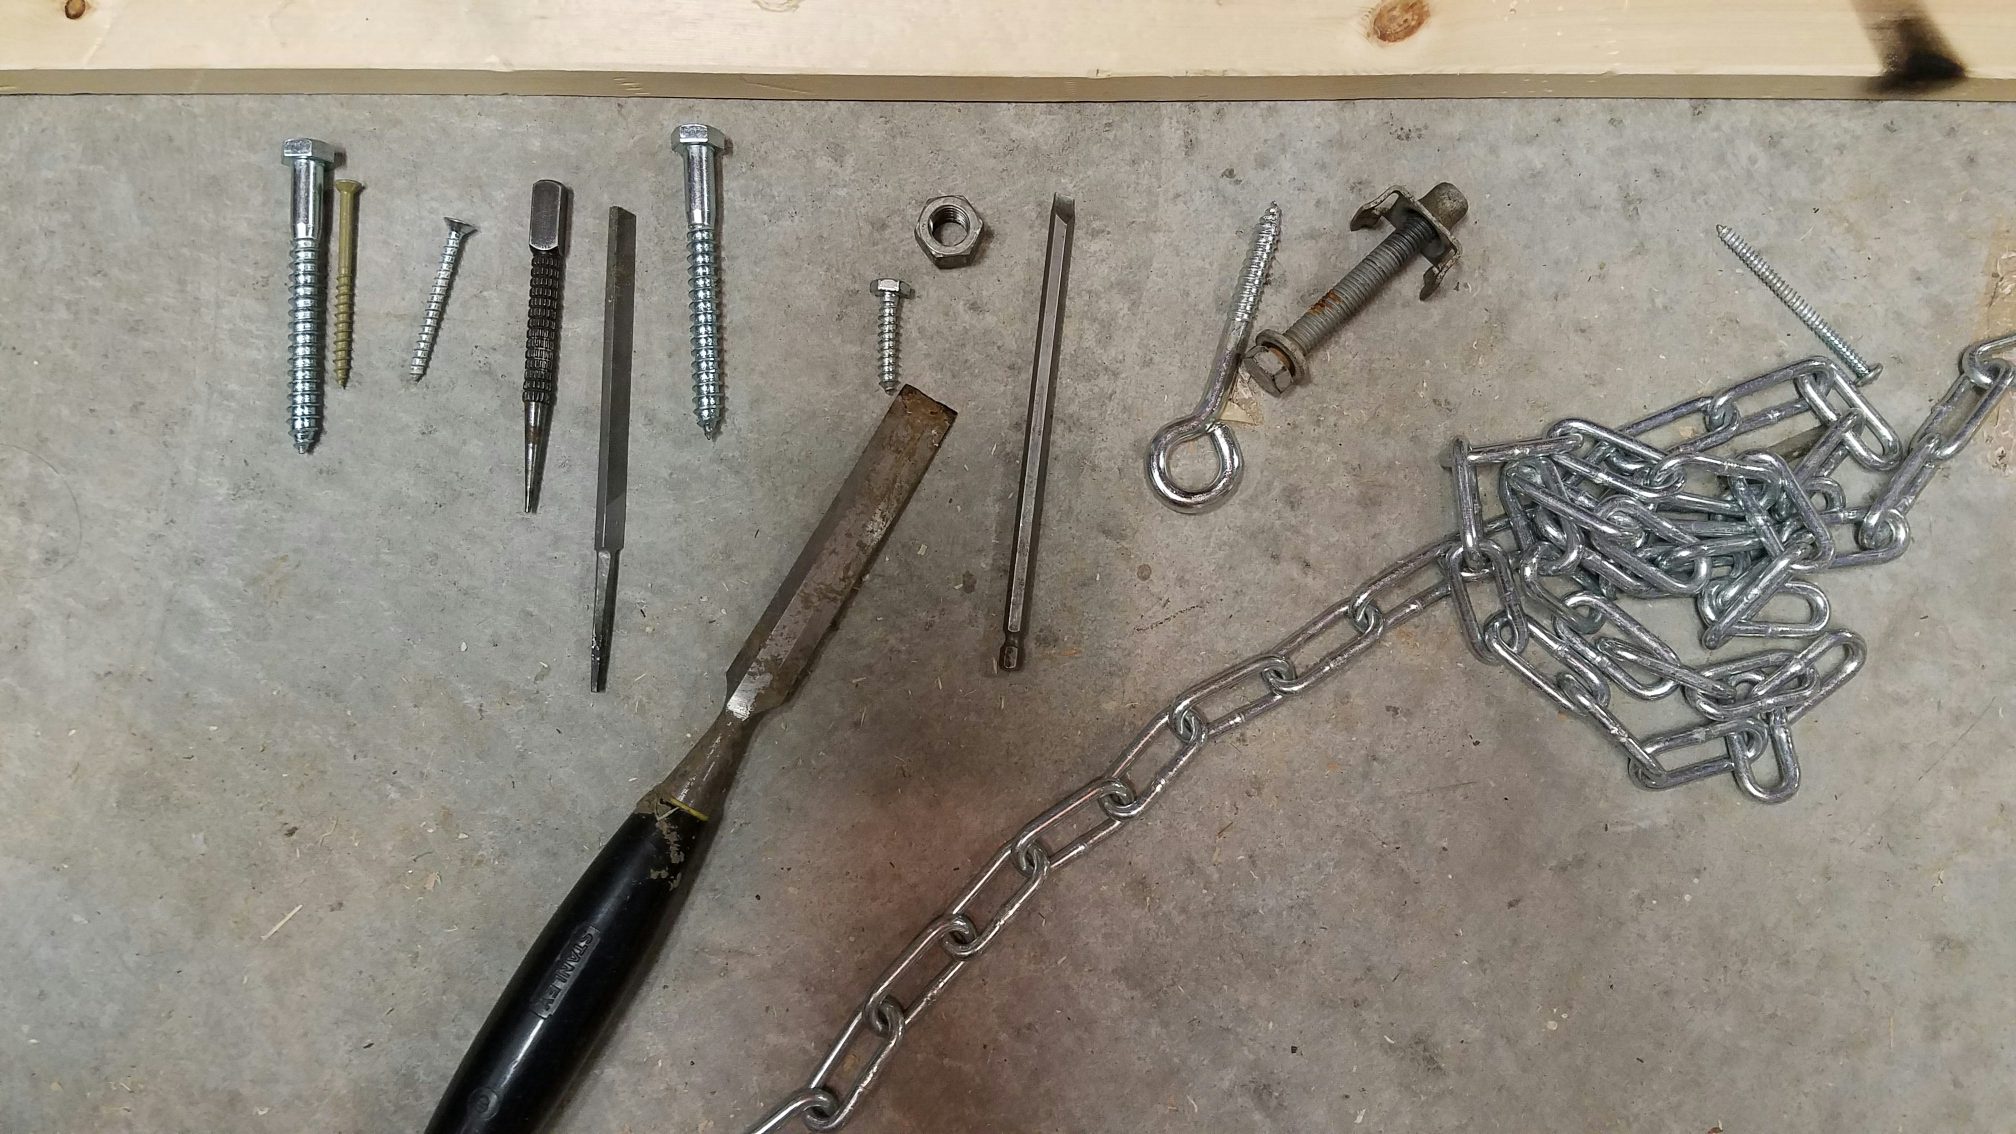 You can hit the board with both sides of the actual hammer. You can lay a screw, bolt, etc on the board and then tap them with the hammer, to make the indent.
Once you’ve got it how you like, time to stain. I put a pretty heavy coat on it. I knew I was using white embroidery string and wanted it to pop!
The indents will stain darker because it’s fresh wood, giving it that old look. I let that sit overnight and then got started. The whole process took me about 2 hours total and about $10 (trying to figure in the stain and wood, I already had that). 
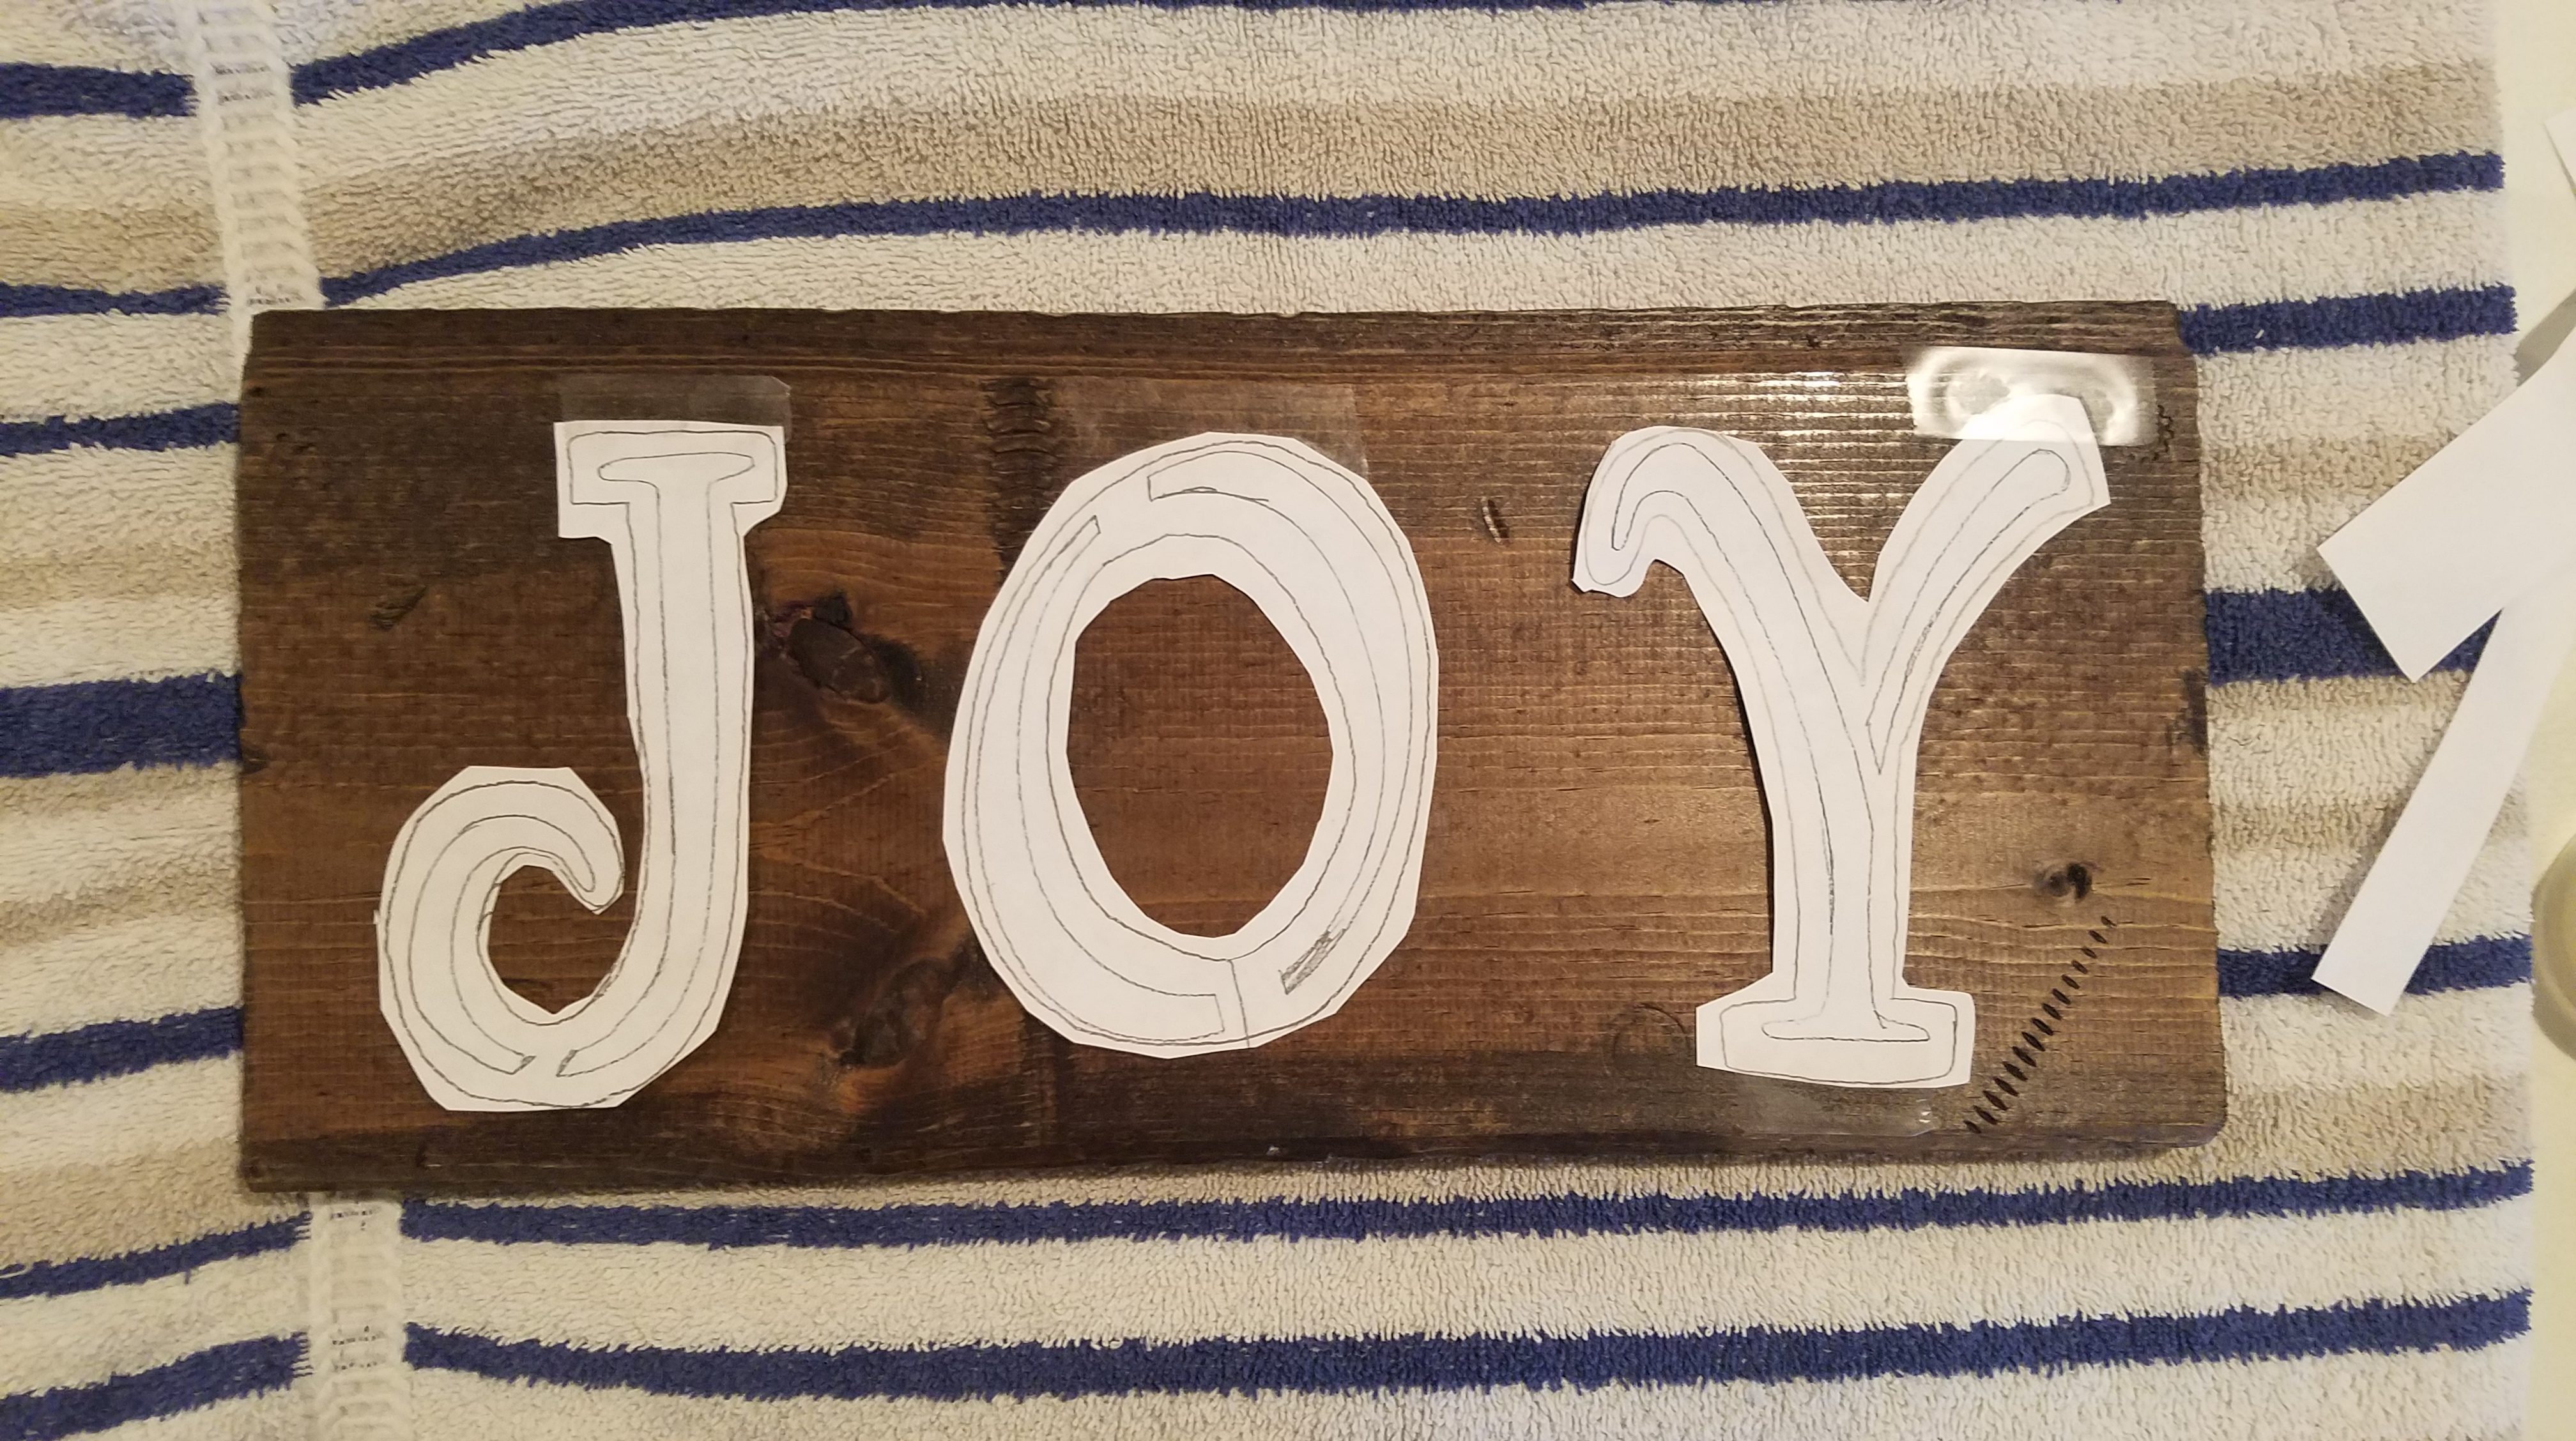
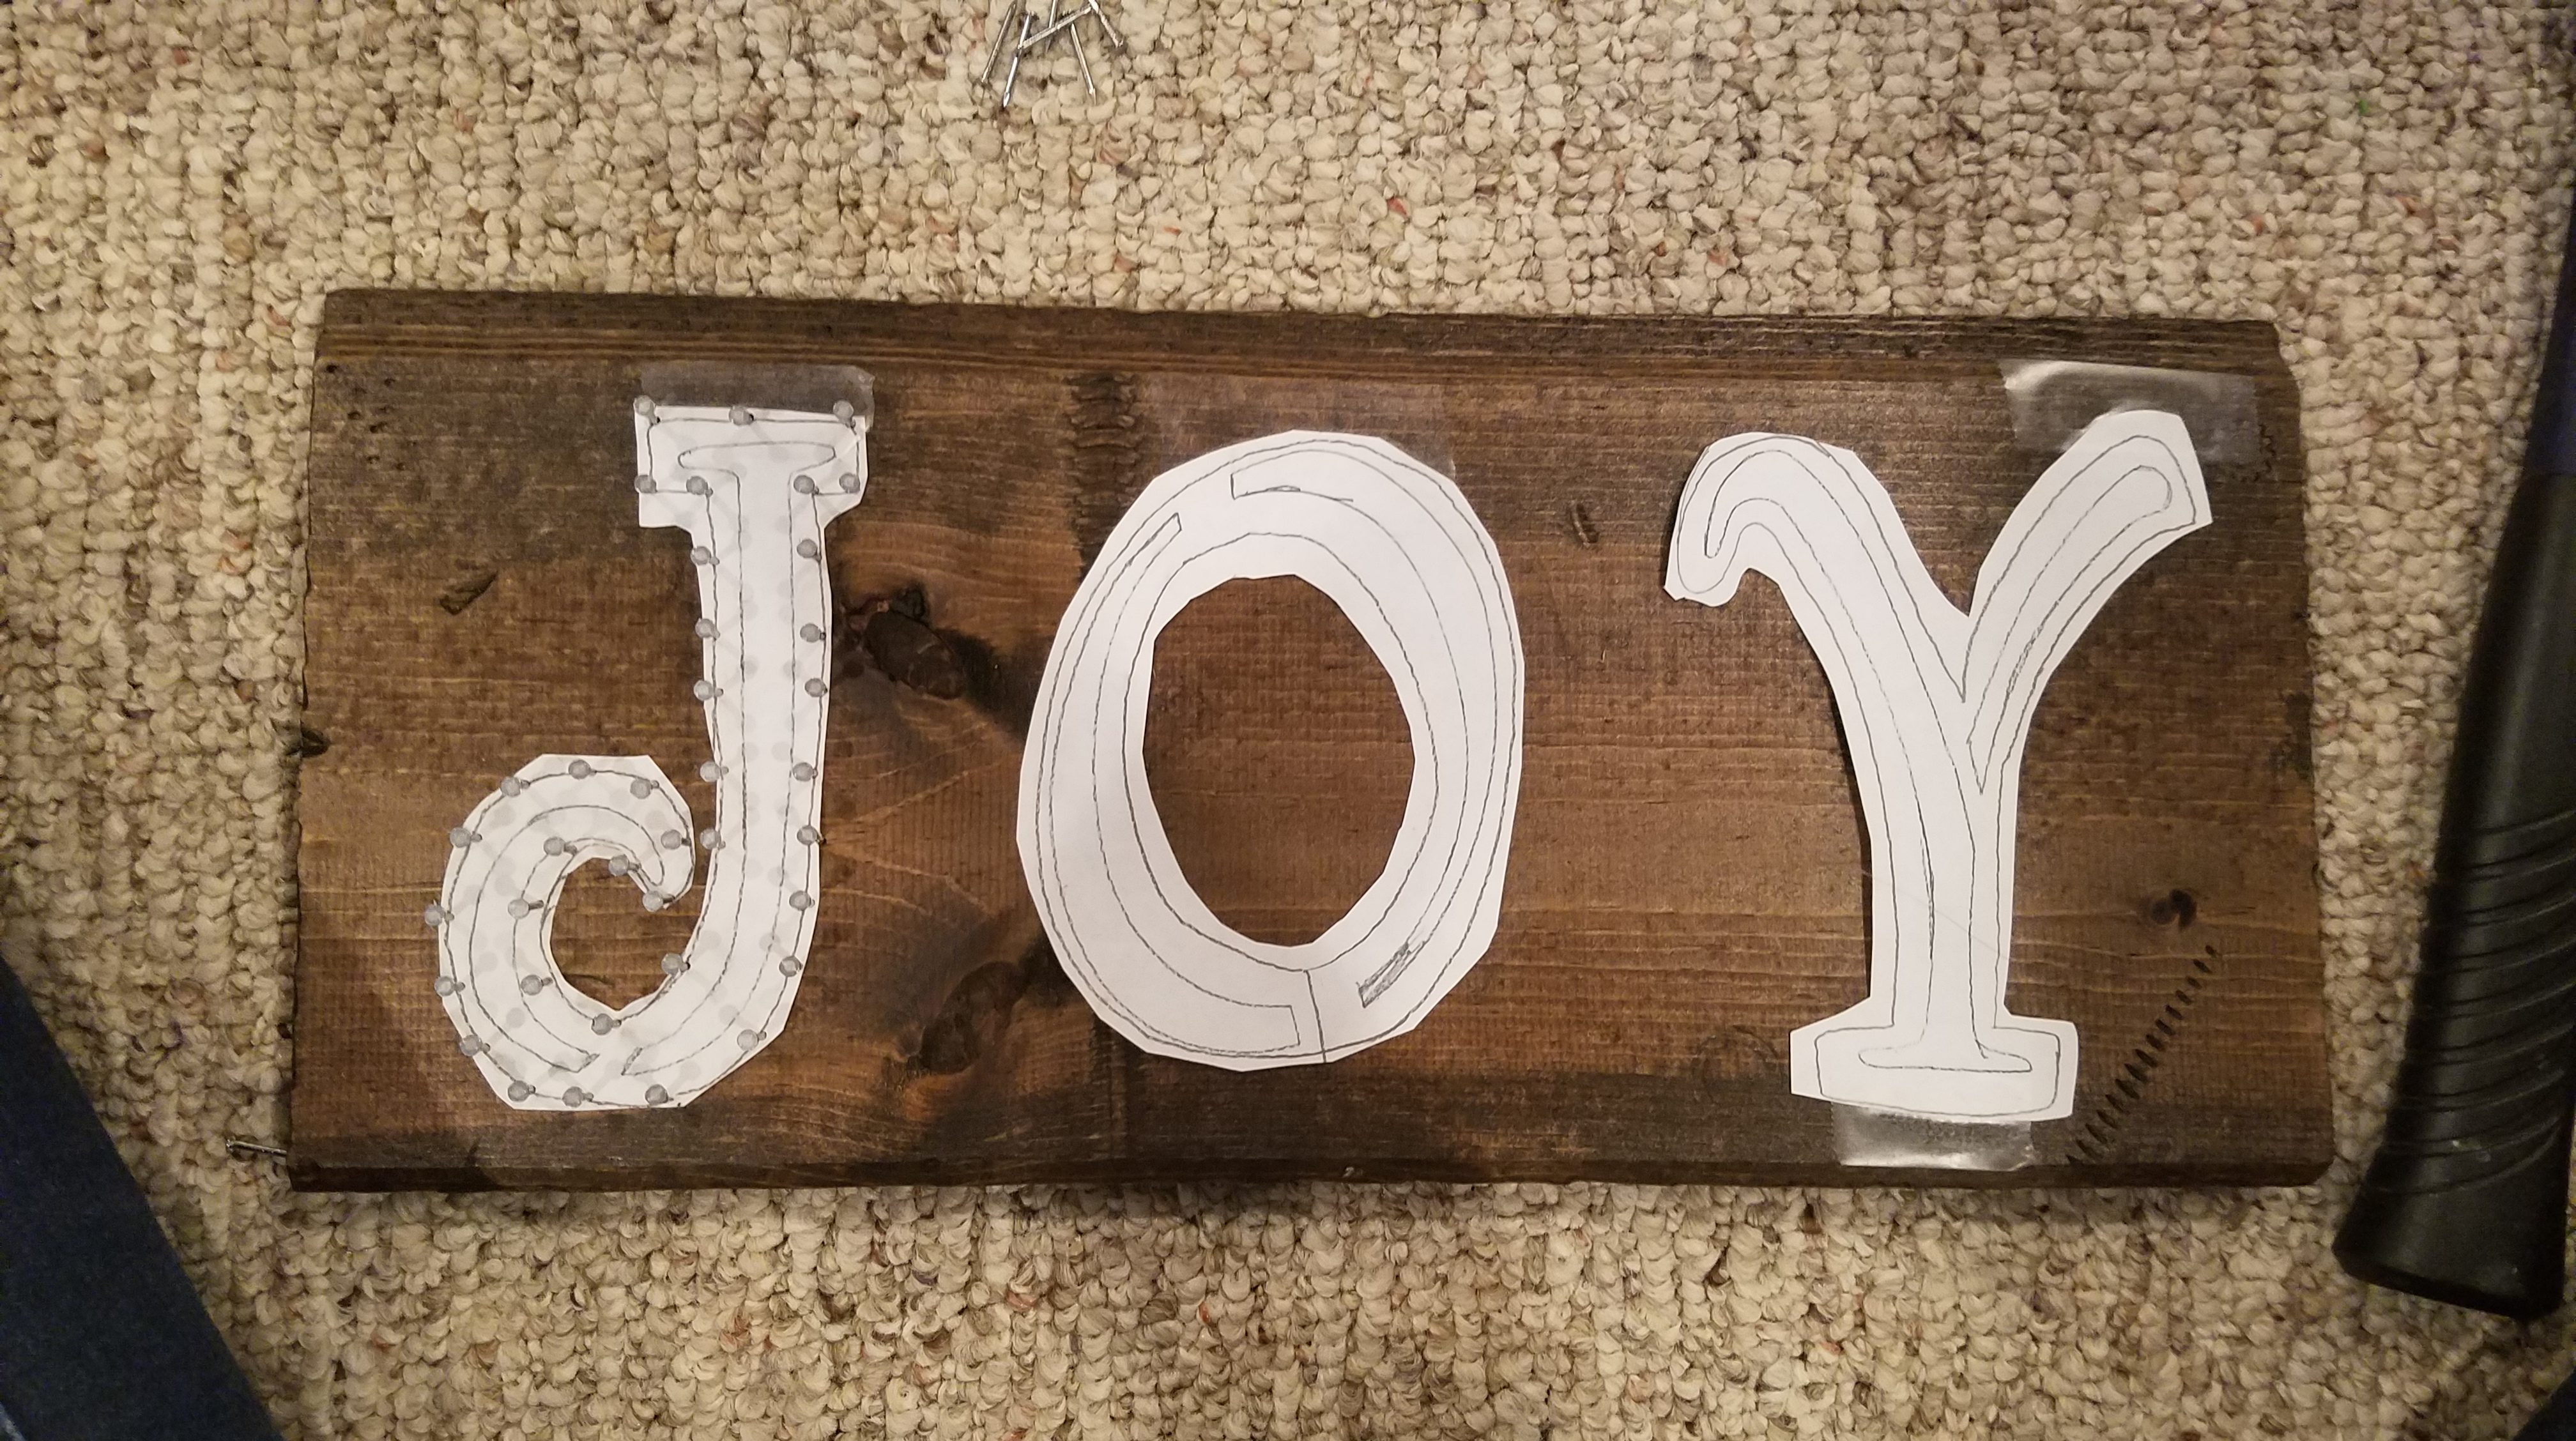
So grab that hammer again and let’s get started. I hand drew out the letters, bc honestly, I couldn’t figure out my printer and getting letters to print properly. Truth. You can now make little dots all along the outside of the letter, this is where your nails will go, don’t put them too close. (I didn’t do this, I just winged it, typically what I do in life)
Then I measured the area divided that in half and put the middle of the “O” on that line. Did the same for the other letters on each side. There are easier ways to do this, I’m sure. Just make sure everything is level and even. Be sure to tape down the letter on the top or bottom so it doesn’t move when you are nailing it in.
You can use a pair of pliers to hold the nail upright when hammering it in, it really saves your thumb a lot if you do this. Also, start nailing from the right side and work left if you are right handed. This way, you have some space beside you to lay your hand etc. As you can see in the pictures, I didn’t figure this out at first. 😂 You’ll want the nail sticking out long enough for the string to wrap around, but not stick through the back of the wood.
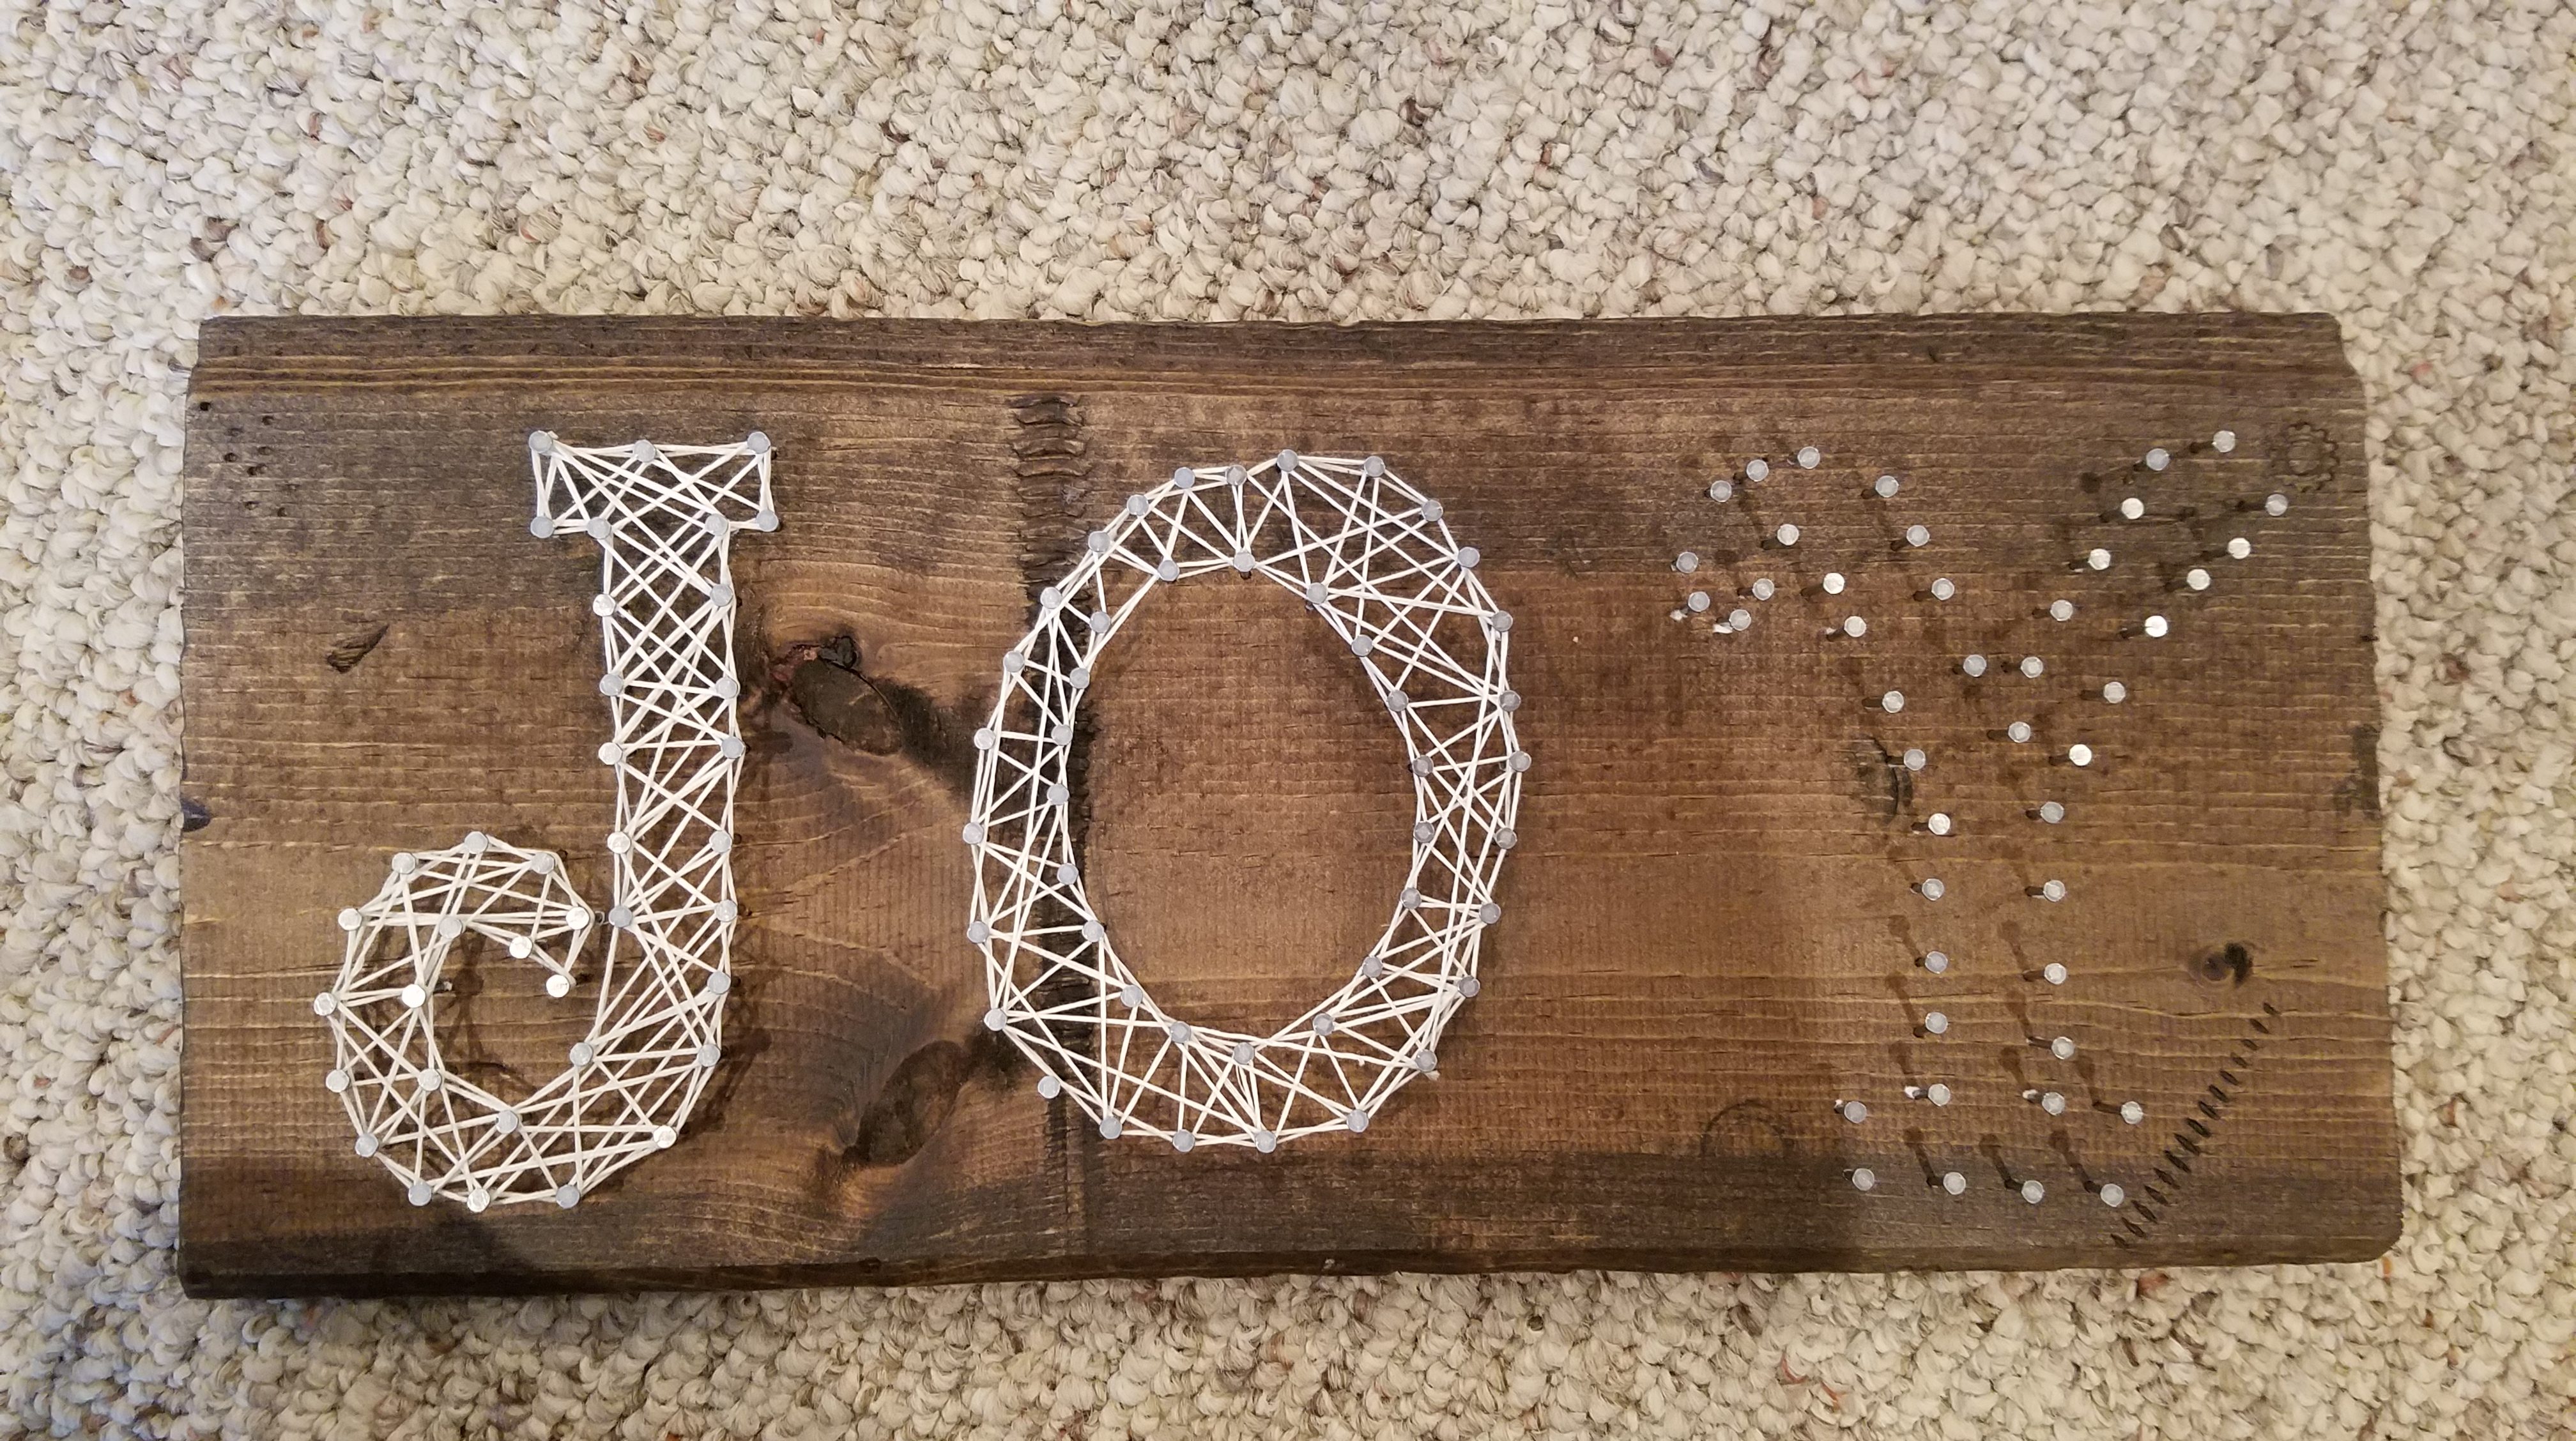
Pick off all of the paper from your stencil you made and let’s start stringin’.
Tie a knot around one of the nail heads, making sure it doesn’t come unraveled, you can seal it with super glue for extra caution. This would be a great idea to do if you were selling them. I made the outline of the shape first. Then simply go back and forth around your shape until you have filled it in.
Once you have it filled in to your liking, tie off the knot and you are done!!
BONUS ORNAMENTS:
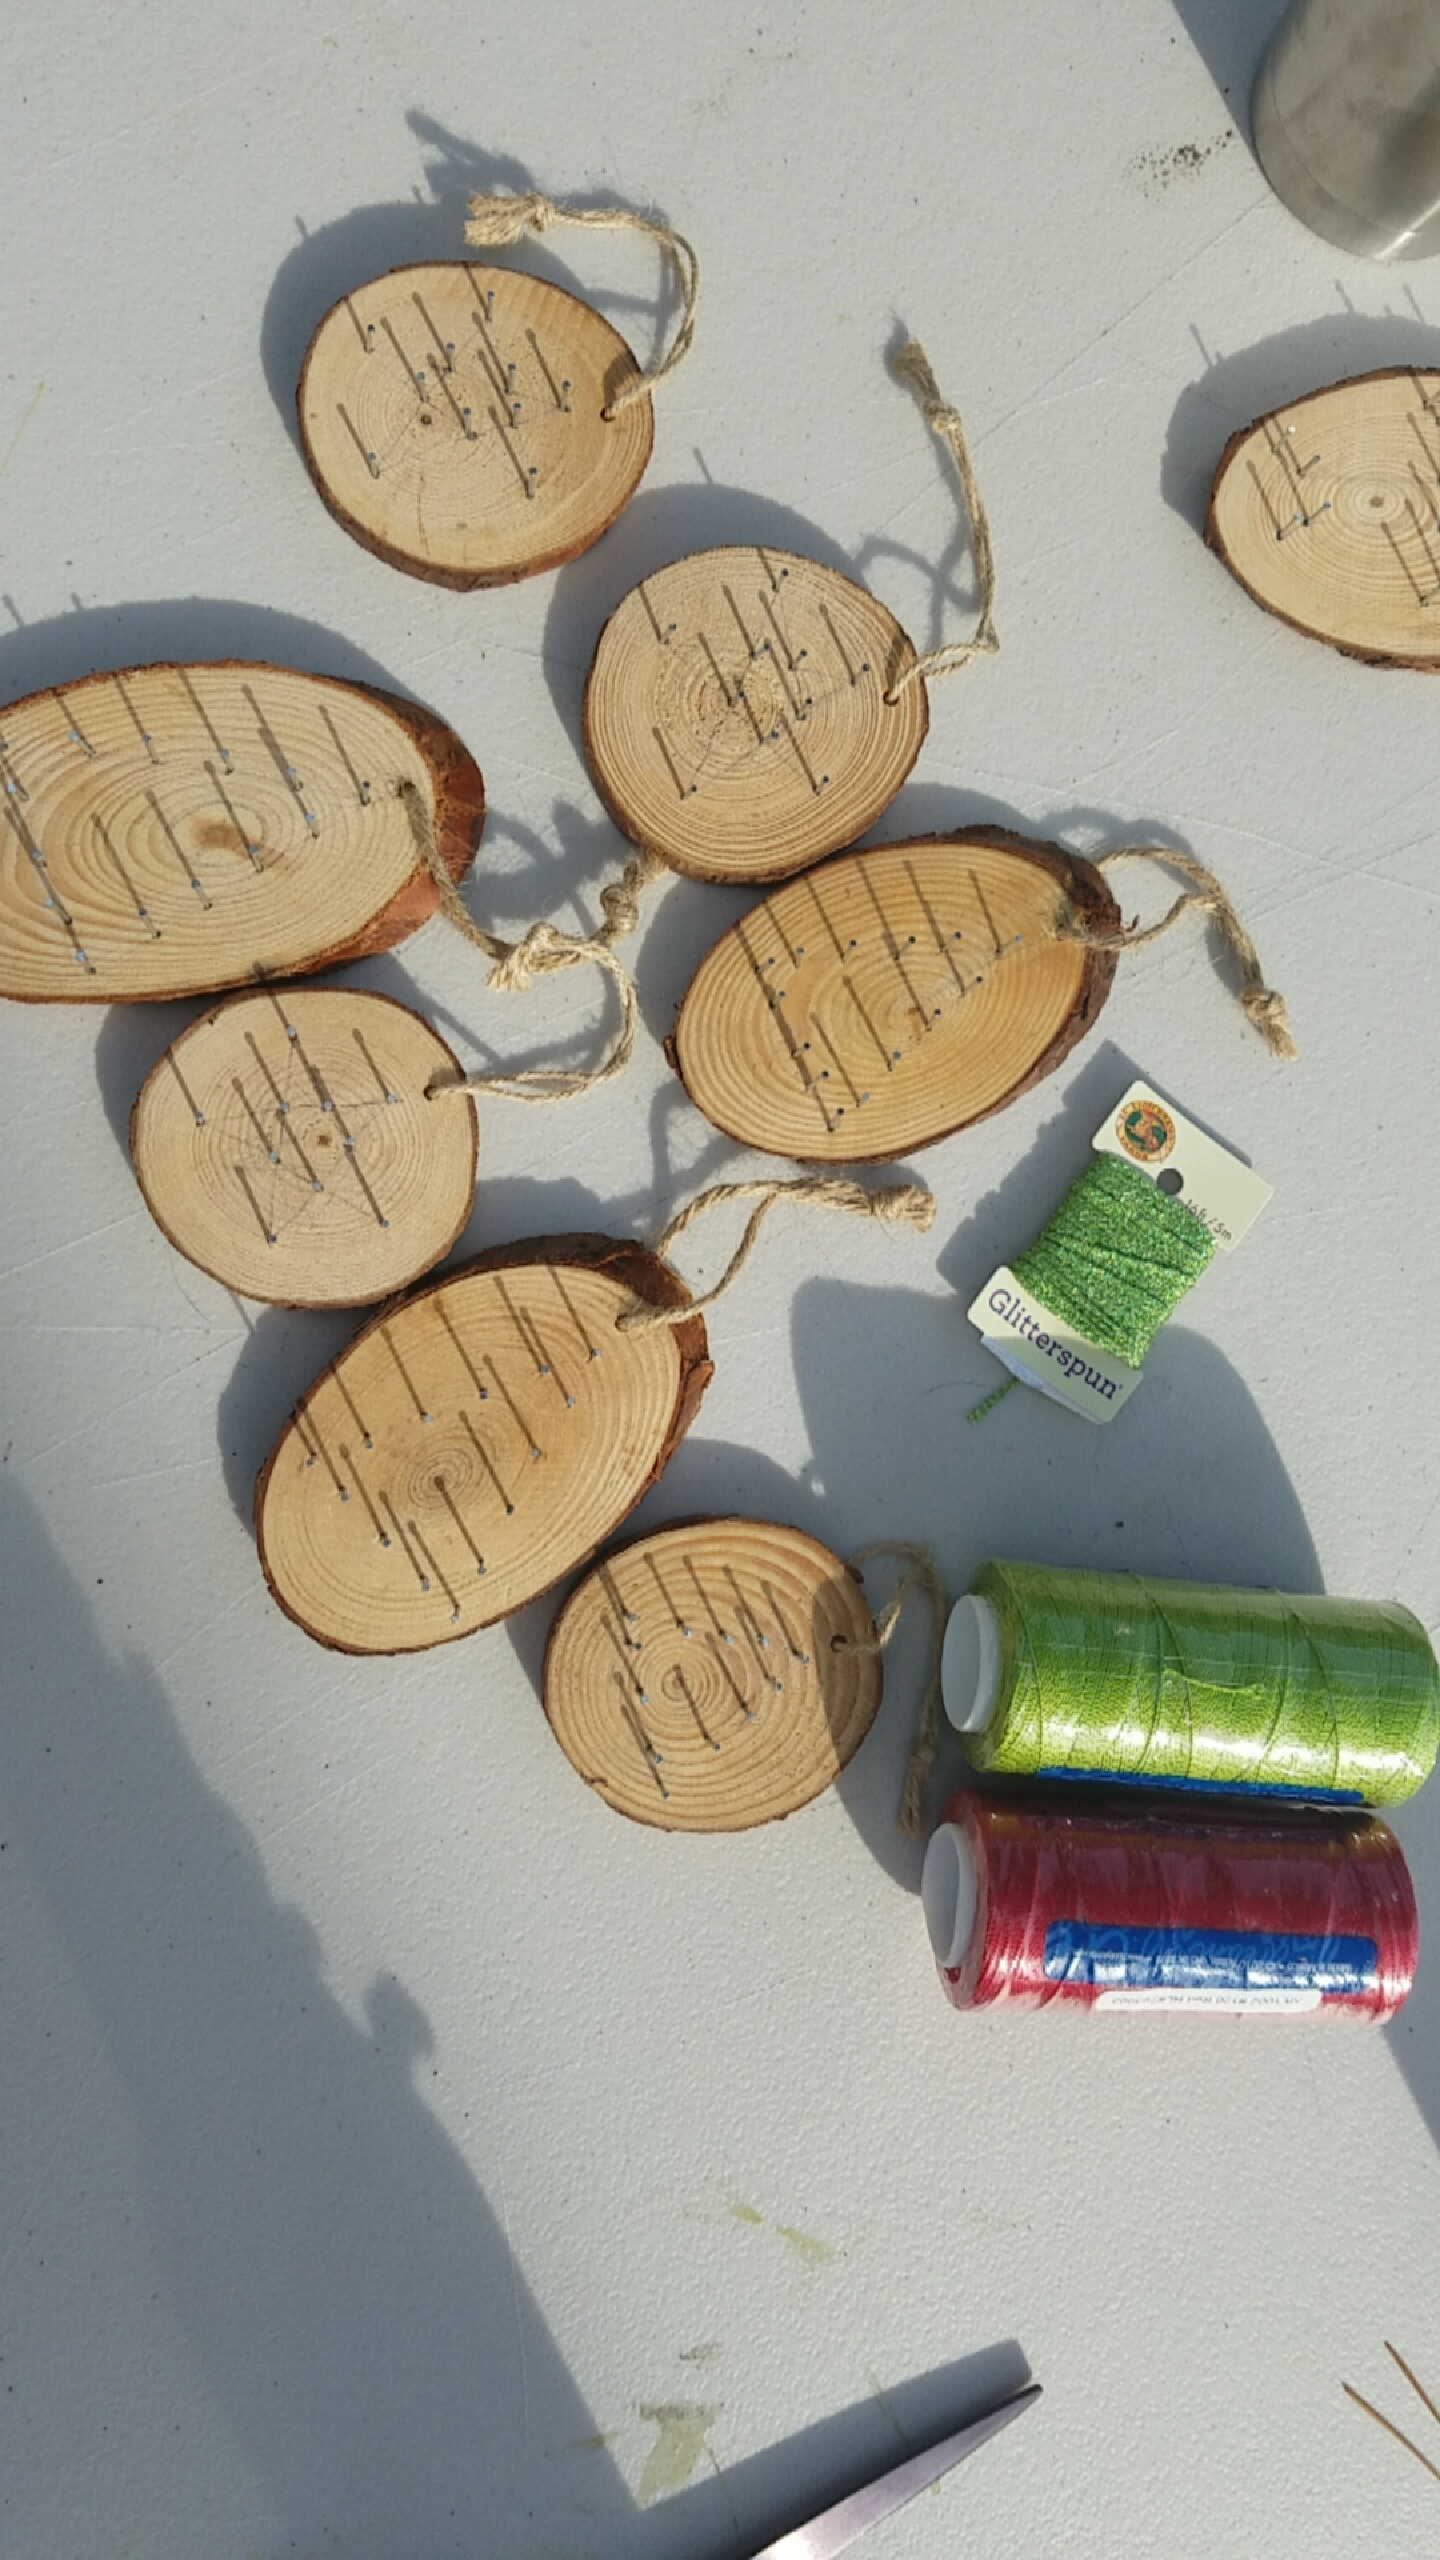
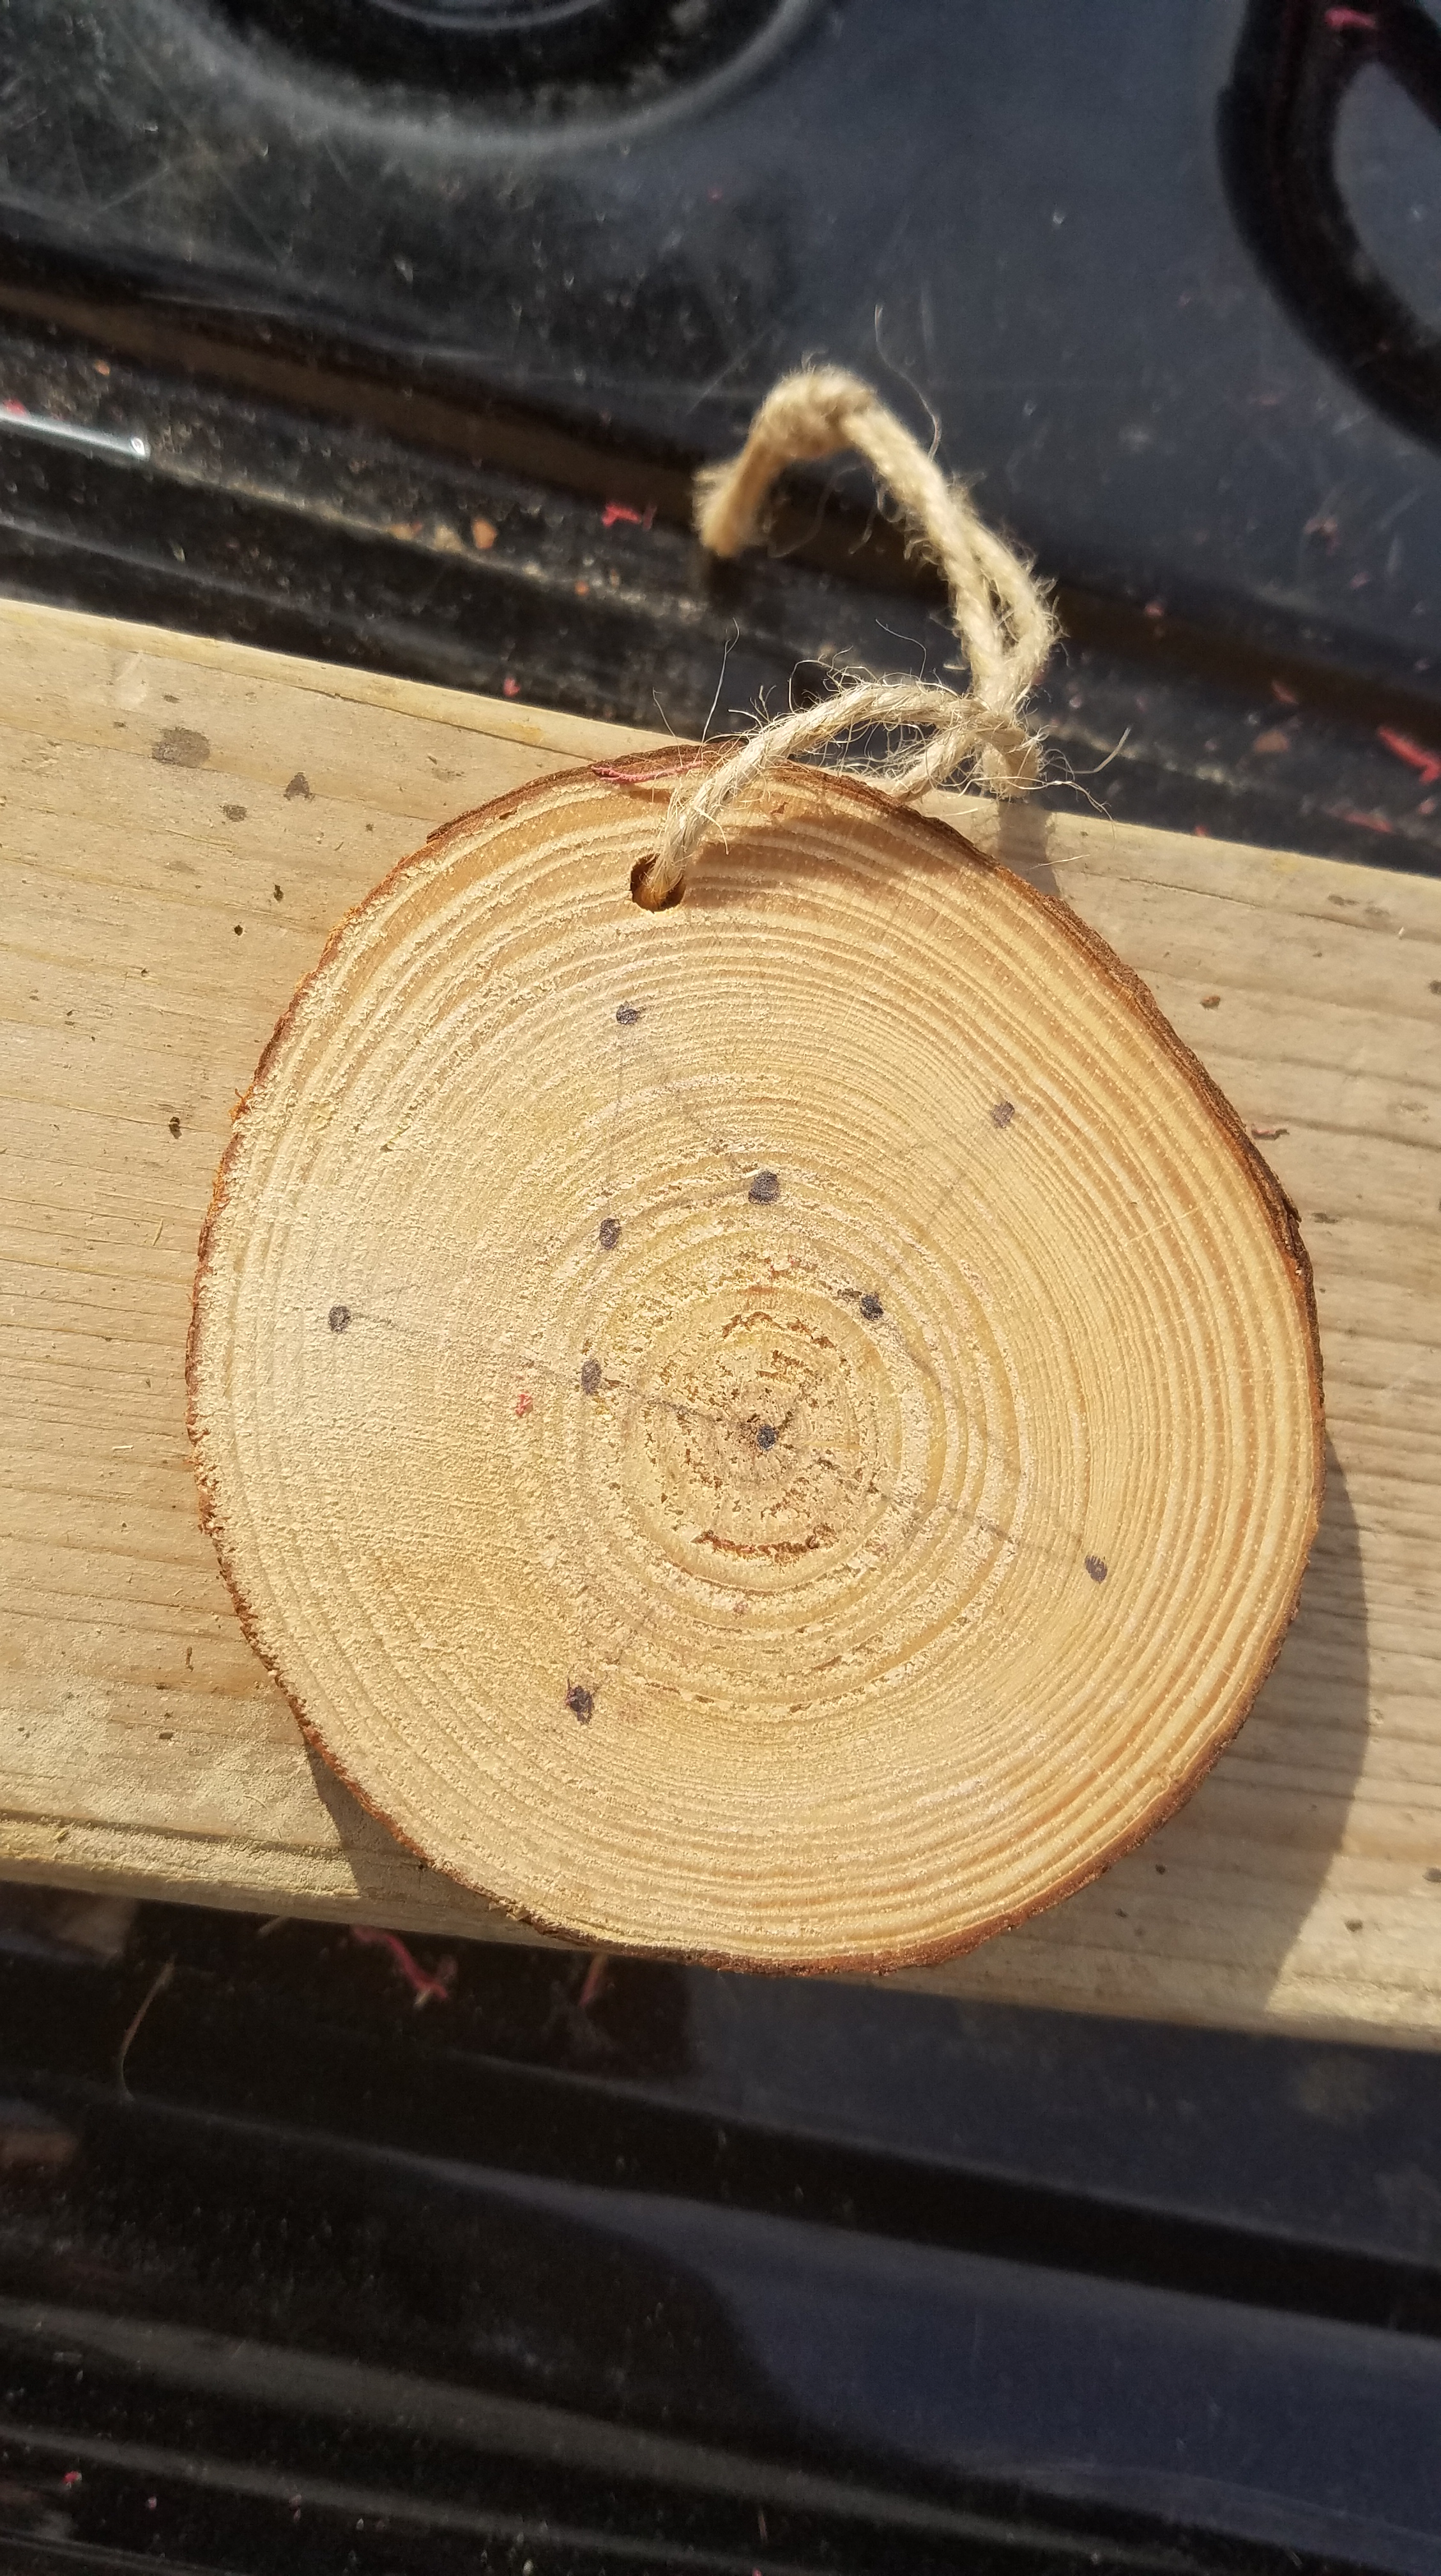
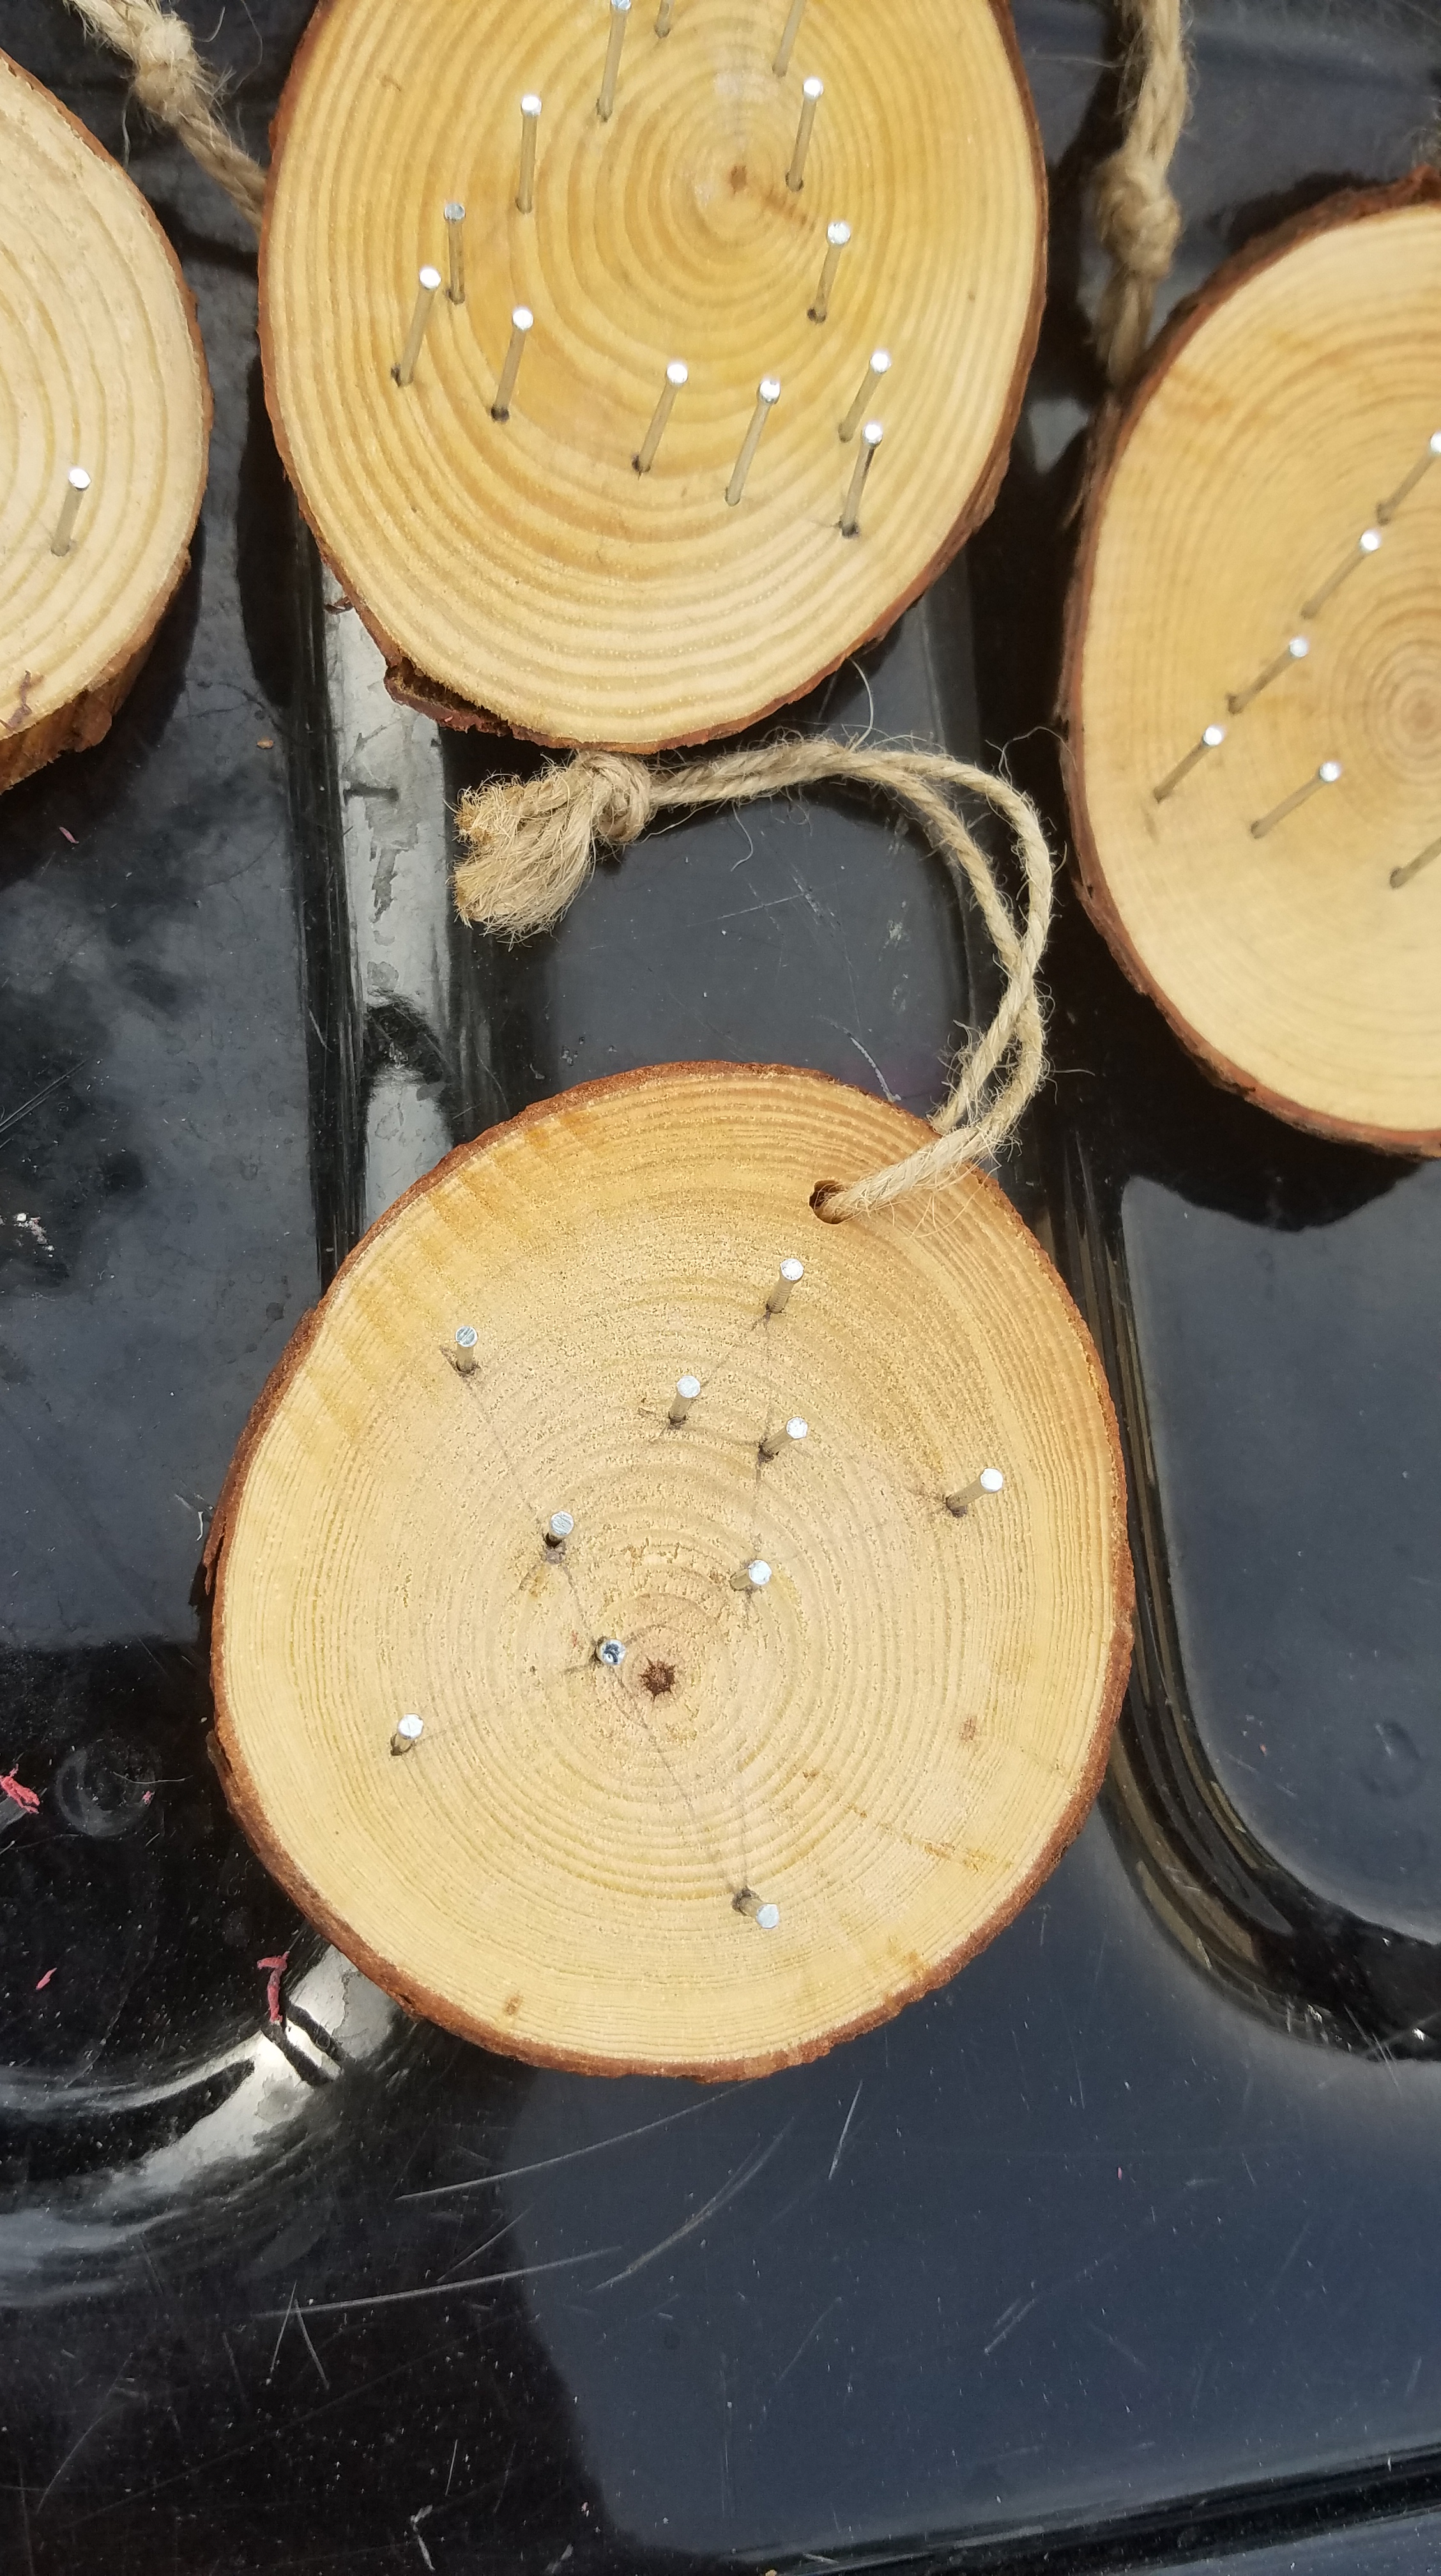
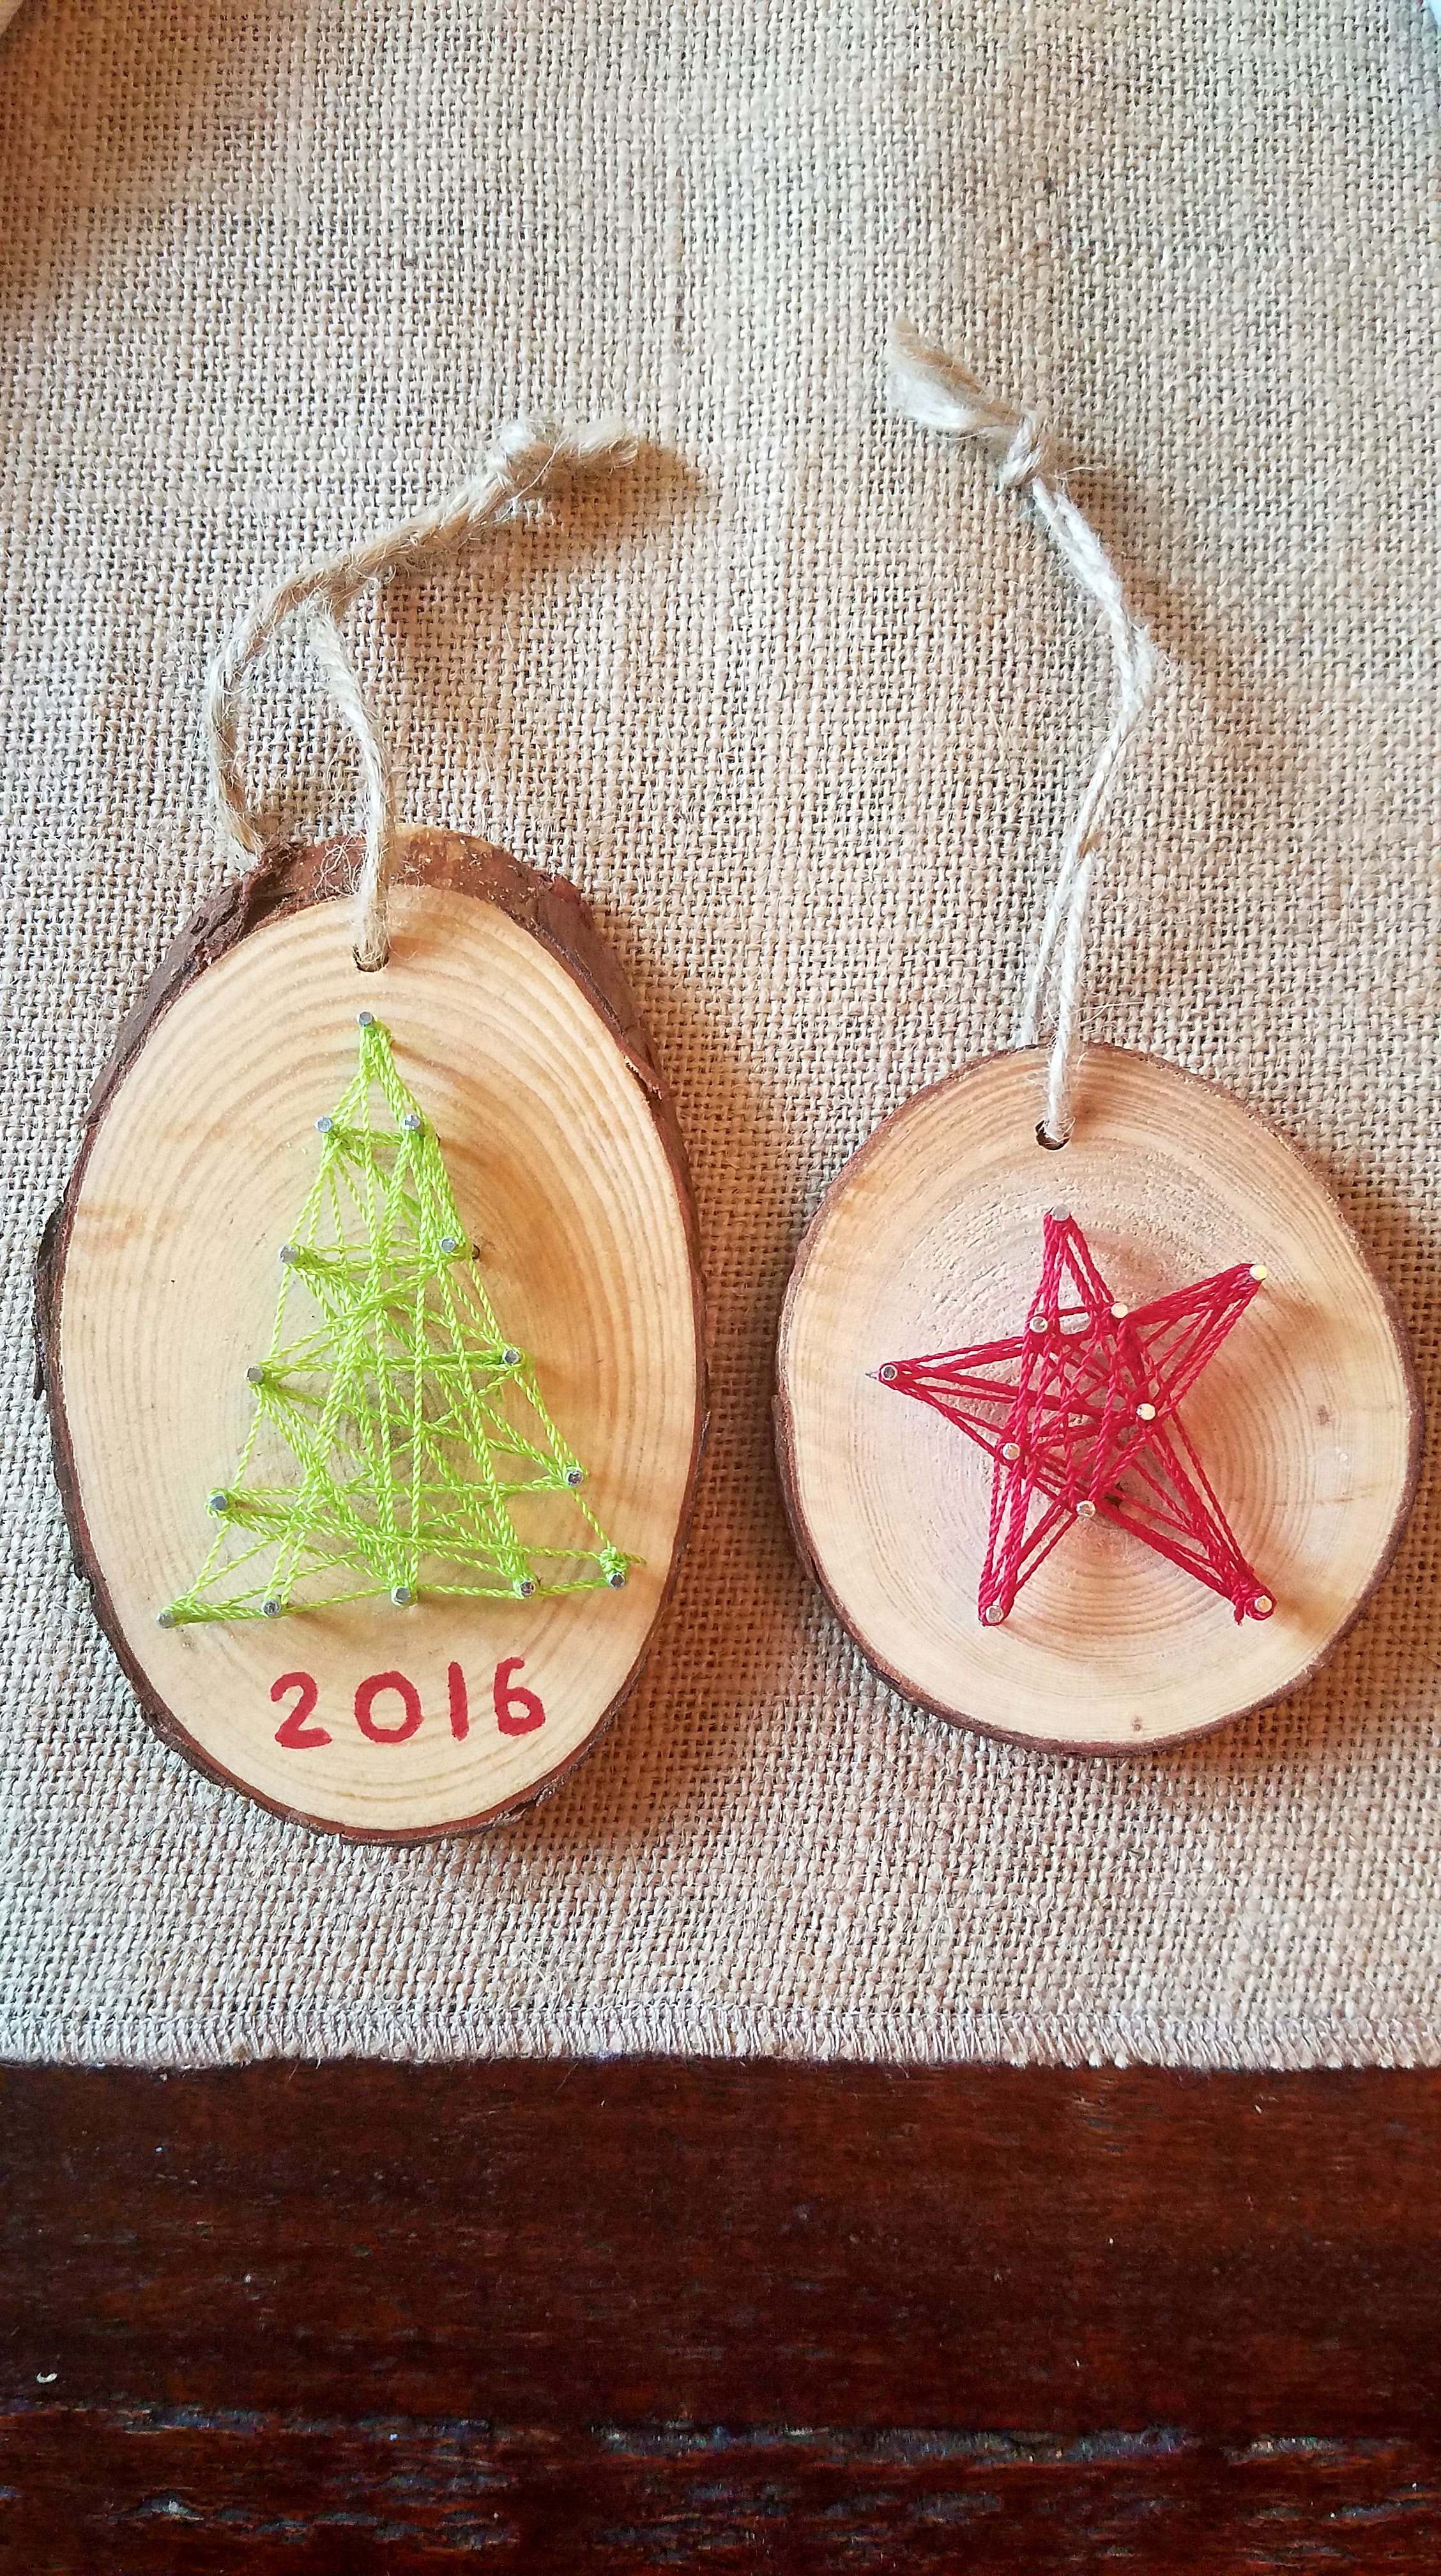
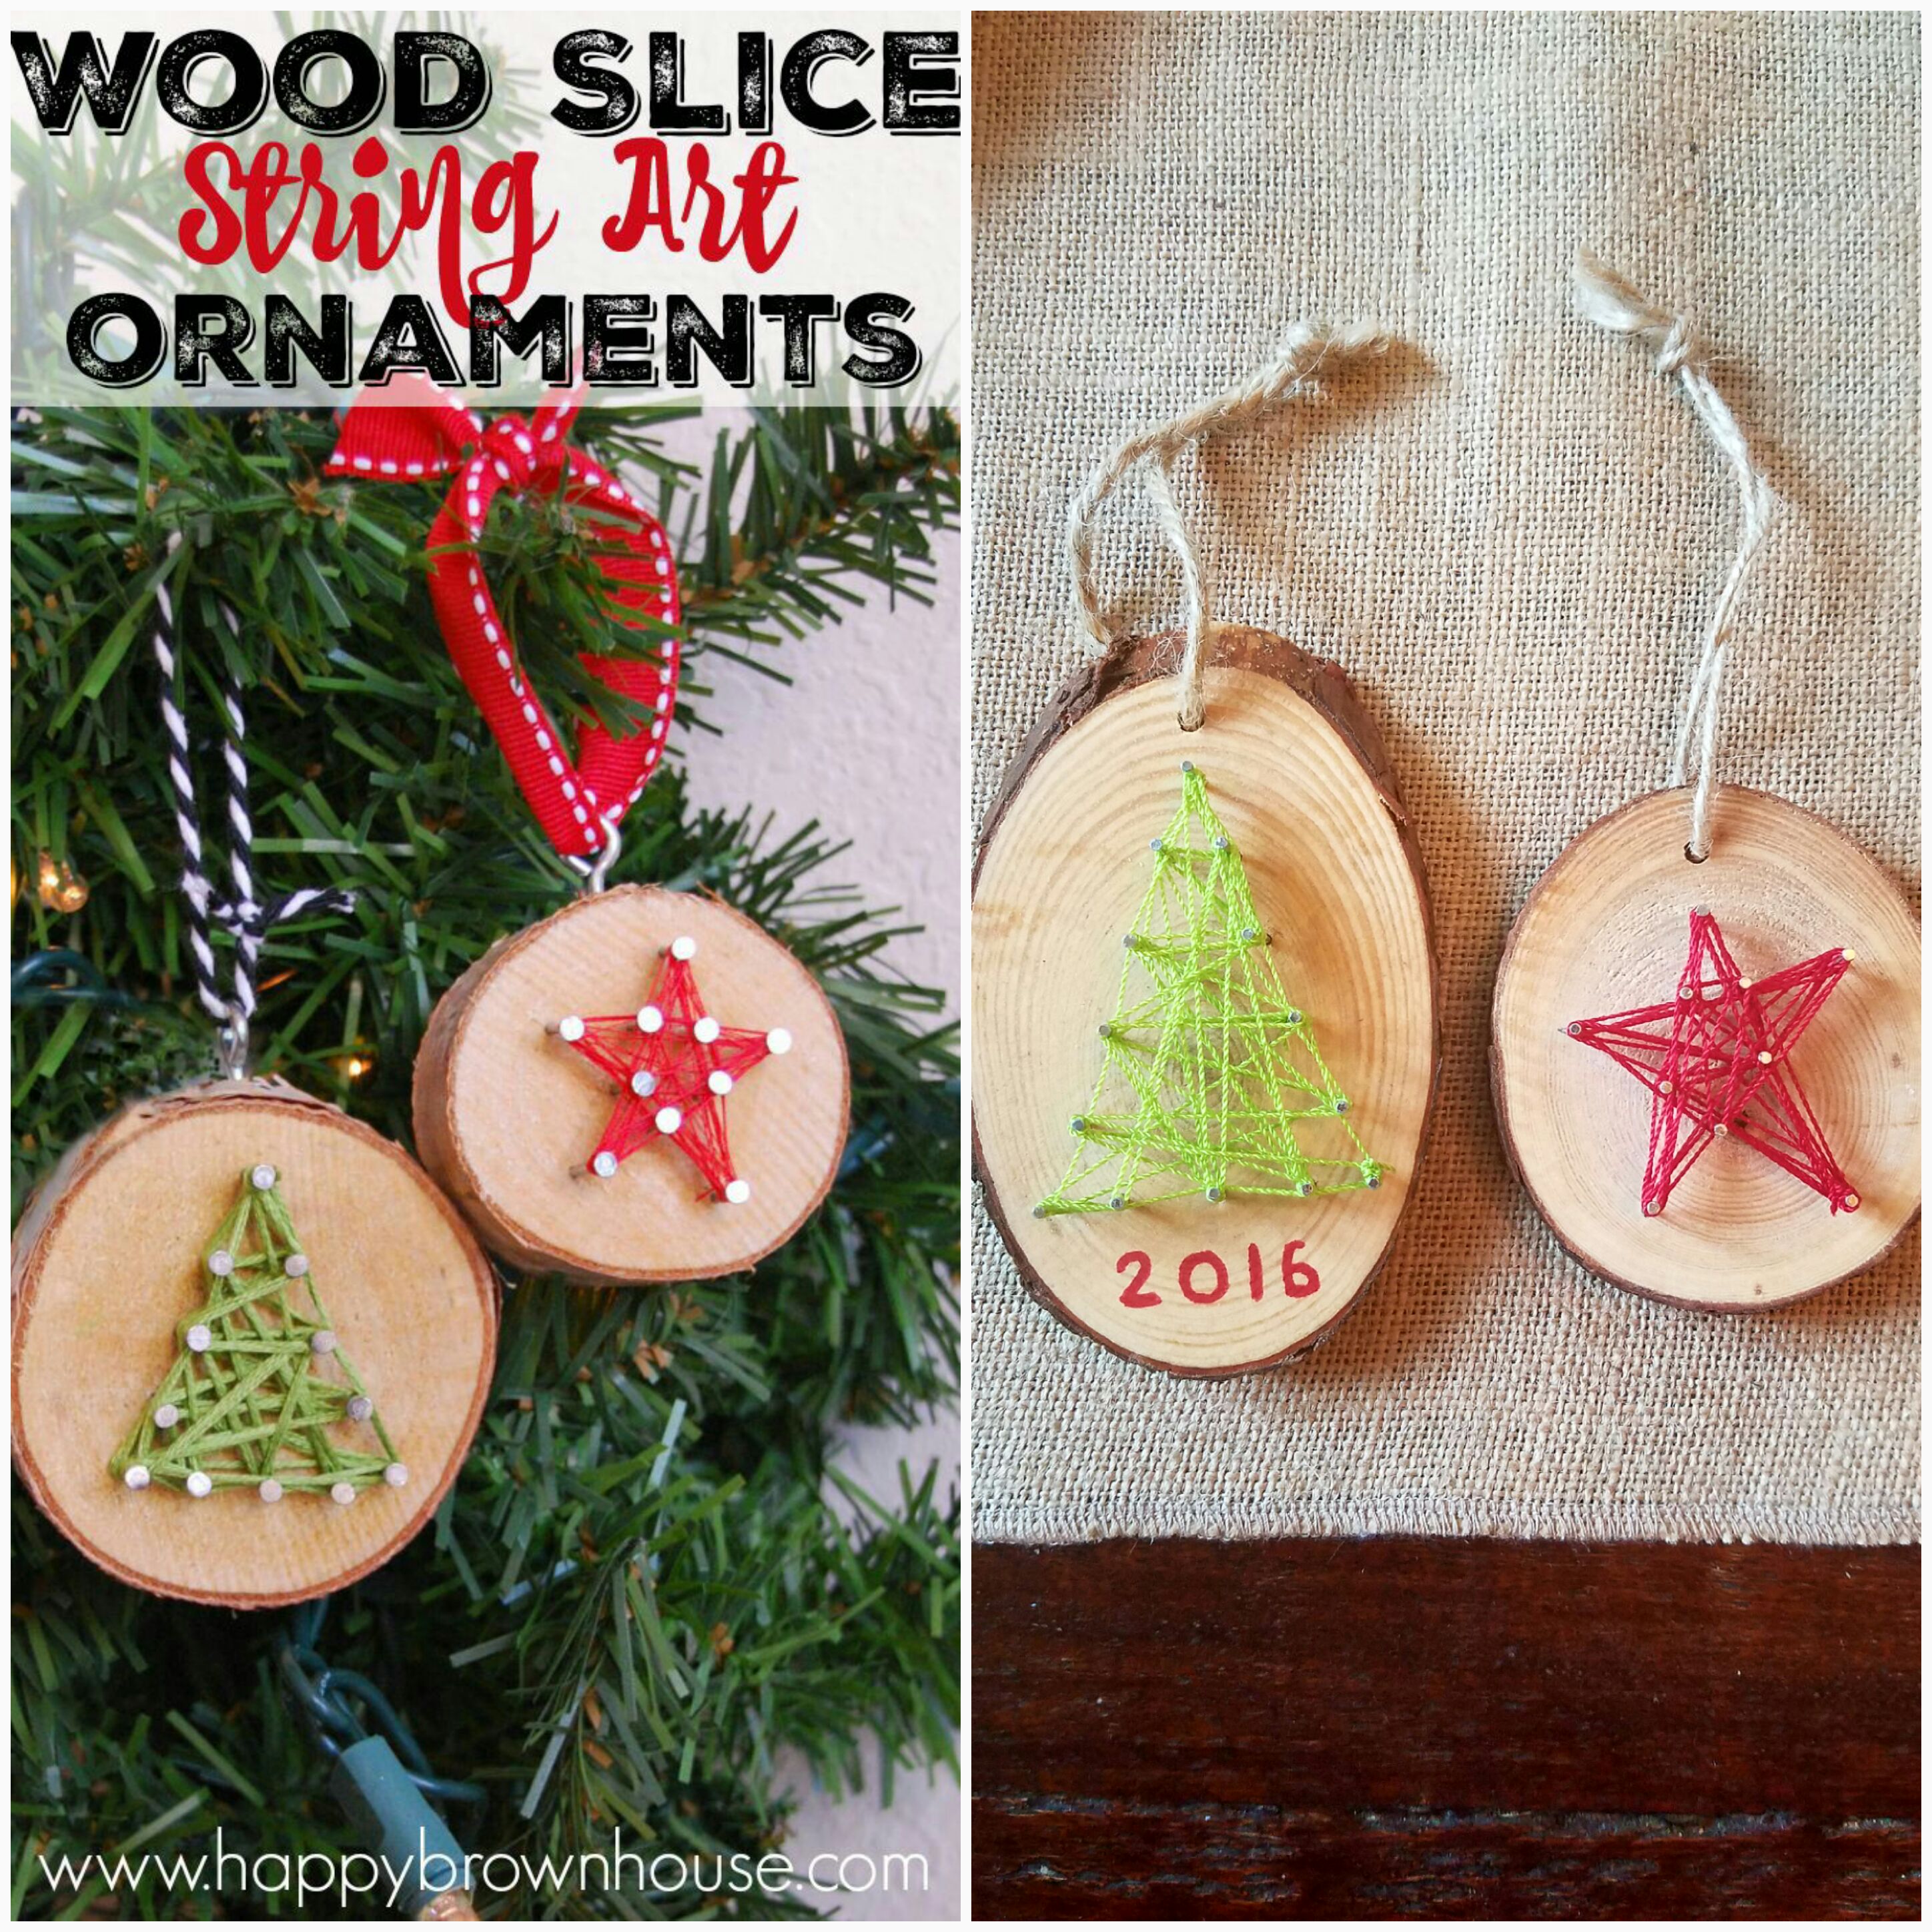
Tag me on Instagram if you upload a picture! I’d like to see what you’ve done @terranelsonblog


